

A 6 to 15mm grandscaler
This is my attempt to set up a grand scale wargame scenario for 6-15mm Arnhem. It was written with Blitzkrieg Commander in mind, but can be used for other systems, I think. I designed it as a 2-3 hr game with objectives and tactical choices, not as a point-based-kill-‘m-all!-slugfest. I was umpire. Germans are the defenders.
What happened and what should have happened

I try to follow the historical battle plan. The Arnhem area had three bridges: the Oosterbeek railway bridge, nearly captured by the paratroopers: but this bridge was blown up by the Germans: a pontoon bridge, British intelligence didn’t know it was out of order: and the famous Arnhem city bridge.
From a gaming point of view, the strict historical timeline will not deliver an interesting (grand scale) wargame. You see, when the Oosterbeek bridge was destructed, the British became trapped on the northern river bank. They entrenched themselves near the northern side of the city bridge, were unable to capture the southern side, then heroically withstood German attacks, withdrew to Oosterbeek, again withstood German attacks, and then finally escaped over the river after heavy losses. That is in a nutshell ‘Arnhem’. It’s an Alamo battle. Defend or die.
A More Mobile Wargame
If you slightly deviate from the historical timeline and focus on capturing the bridge(s) and capturing/defending victory points within a limited number or turns, a smart maneuvering game can develop. See map below.

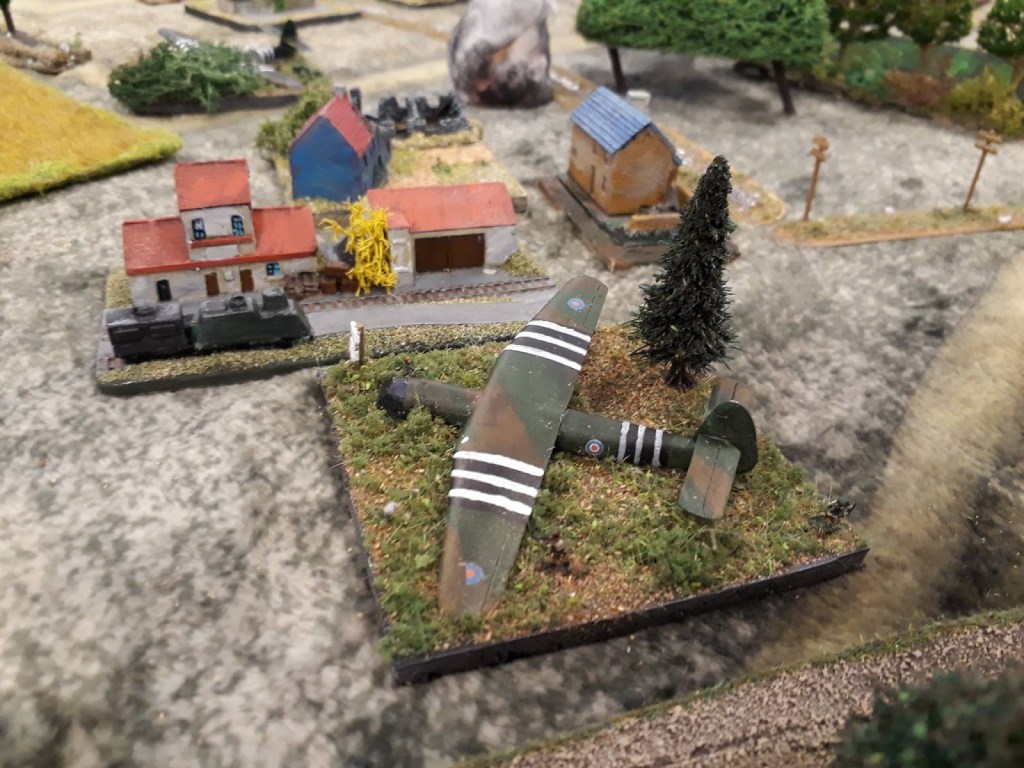
In this setup, the lightly armed elite British paratroopers start on the left side of the table, scattered north west and south west of Wolfheze.
In my scenario they attack with two battalions (12 units each), each supported by a mortar section and a machine gun. One of the battalions has PIATS. I gave the British player the option to allocate a limited number of transport units (3 jeeps) and a limited number of light AT-guns (also 3) to one of the battalions. Thus he can upgrade the non-PIAT-battalion or give one of the battalions more speed or order jeeps to tow the guns.
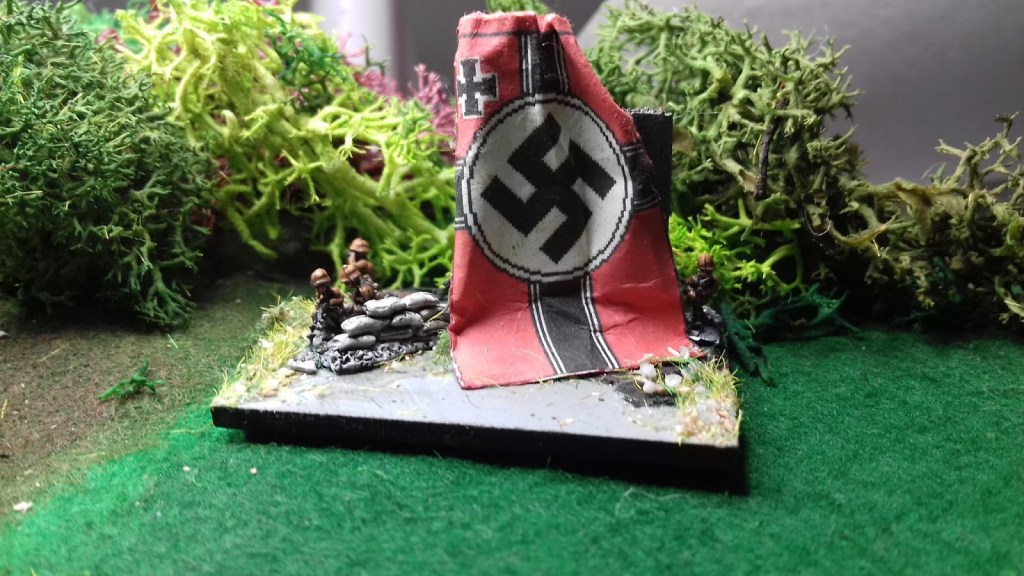
The Germans start with a small Waffen-SS infantry unit, entrenched weak Luftwaffe ground troops, engineers and support. I let the German commander choose between mobile pioneers and a mortar (more offensive) of infantry pioneers and an infantry gun (more defensive). They set up in Arnhem, with only a third of their total force. Slowly reinforcements will enter the table: a tank battalion from the Arnhem side and a conscript infantry battalion that enters the table from the east.
The Germans are not allowed to blow up the Arnhem Bridge (General Model wanted to preserve that bridge and the Nijmegen bridge for a possible counterattack) but they can blow up the Oosterbeek bridge if their pioneers are fast enough. Halfway the game all German reserve units enter the table via Arnhem. In the end they are stronger but maybe not strong enough.
If the British are fast enough, they can capture the bridge(s), an extra dropzone (SDP-V on the map) just outside Arnhem and/or destroy the German infantry. They must watch their backs however because unexpectedly Dutch/German conscript troops will threaten their dropzones from the NE corner.
I wrote two separate briefings, for the commanders. Limit turns and set a deadline that gives the British enough time to gain ground and maybe dig in, but long enough for the Germans to counterattack.
The BKC Airborne Assault Scenario
Inspiration was BKC scenario 11, ariborne assault.
A battlegroup lands by parachute and glider in an attempt to capture an objective such as a bridge or fortification. The attacker has 50% more points available than the defender and may purchase assets for scheduled air support. The defender will deploy first and may deploy one third of his battlegroup anywhere on the table when using hasty defence or all of his battlegroup in the centre third of the table when using fixed defence. When deploying one third of his battlegroup on the table, the defender should use mobile deployment for his troops that are off the table.
The attacker will take the first turn and should select a point anywhere on the table for each formation, then roll two dice and a direction die. Total the scores of the dice and the command unit is placed on the table this distance away from the aiming point in the direction of the arrow. The troops in the formation are then placed anywhere within 20cm. Repeat this process until all formations have been deployed.
The attacker should occupy the objective within 12 turns to achieve a minor victory and within 9 turns to achieve a major victory. The defender should prevent the attacker from reaching the objective to achieve a minor victory and break the opposing battlegroup to achieve a major victory. The game is limited to 12 turns with the attacker taking the first turn.
Add more troops as you see fit. If the game is decided too early, the umpire could as a mean surprise give one of the sides faster or extra reserve troops during gameplay (paratroopers or Germans) for a more tense game.
BRITISH BRIEFING
Hello commander!
Your two battalions just landed NW and SW of Wolfheze, 13km west of Arnhem. You must establish a bridgehead. You’re leading the first wave of attacks. The task is simple. Capture a bridge before the Nazis capture you!
We have three bridges in the area. The Oosterbeek railway bridge, a minor pontoon bridge and the Arnhem traffic bridge to Nijmegen.
Near Wolfheze are two dropzones. Our reinforcements will land there tomorrow, so keep them clear of enemies. NE of Oosterbeek, near Arnhem is a third dropzone (SDP-V). If you capture this we might be able to drop support weapons or transport jeeps.
You’re the best of the best, paratroopers trained to survive and win. Your opponents? Canned meat. Besides, you have mortars, machine guns, our superior PIATS, and AT-guns – but all Nazi tanks are far away in Germany, according to our brilliant intelligence officers. So don’t worry. It’s a walk through the park.
Victory Conditions
- 1) Every working bridge 2 points/1 if only one side captured
- 2) 3rd dropzone 1 point
- 3) original dropzone(s) lost -1 per lost dropzone. Keep at least one of your original dropzones, otherwise you lose the battle and we lose you.
GERMAN BRIEFING
Generaloberst!
Mein Gott! The verdammte Tommy’s totally surprised you today with their air landings this afternoon. At first you thought they wanted to capture your Oberkommando and quickly left Oosterbeek. You now understand that the British want to establish a bridge head. Your army is in chaos. You must organize your defense and counterattack. Jetzt! Und schnell!
Your starting position is bad. You have Waffen SS veterans, but in Arnhem, and just a few. Your Luftwaffe-infantry improvised trenches on the north western side of Arnhem near the northern main road. Can these low grade middle aged office workers in bad fitting uniforms withstand a massive para attack without screaming for their mothers?
You also have some engineers able to improve defense or blow up the Oosterbeek bridge. Never blow up the Arnhem bridge, though. We need it to counterattack Nijmegen.
It all depends on your organizational speed. Dutch auxiliary infantry are coming to the rescue from the west and aus Das Reich an armored division will arrive. If you’re not overrun, they might be in time to reinforce you and blow every red beret to the hell they fell out. Gosh – you can save the fatherland, punch the Allies back to Nijmegen, prepare a large surprise Christmas offensive via the Ardennes and end the war before the start of the new year! And if not, we will at least win the world championship football in 1956, 1974, 1990 and 2014!
Victory conditions
- 1) per bridge 2 points, 1 if only 1 side. Don’t lose the Arnhem bridge! Blowing up the Oosterbeek bridge will not give you direct victory points but might deny the British a victory.
- 2) roll dice every turn to check if and how many reinforcements will enter
- 3) remember, if your army breaks, all is lost.
