

Last year I bought a better smartphone and discovered that I could make better pictures. So I collected tips online from different sources and share them in this blog, with examples, to help other miniature painters/wargame bloggers. My tips are simple, for the everyday blogger who has no professional camera but a middle of the road smartphone and who knows nothing about aperture or light balance.
For your information: my phone is a Fairphone III with 12 megapixel camera, pretty much a standard 2020-2021 smartphone camera. The WW2-miniatures featured in this article are simple, a Warlord US mortar team that I speedpainted this weekend and dipped in Army Painter Quickshade, Dark Tone. Nothing special. What makes the difference with older pictures is the photography.
Tip #1: Buy A Cheap Lightbox
I found a simple lightbox. Depending on the quality and the backdrops. you can order them online for 15 – 30 euro. My first, a few years ago, had one light row and weak sides. The more deluxe version that I recently bought is stronger, with different coloured backdrops and two rows of light.
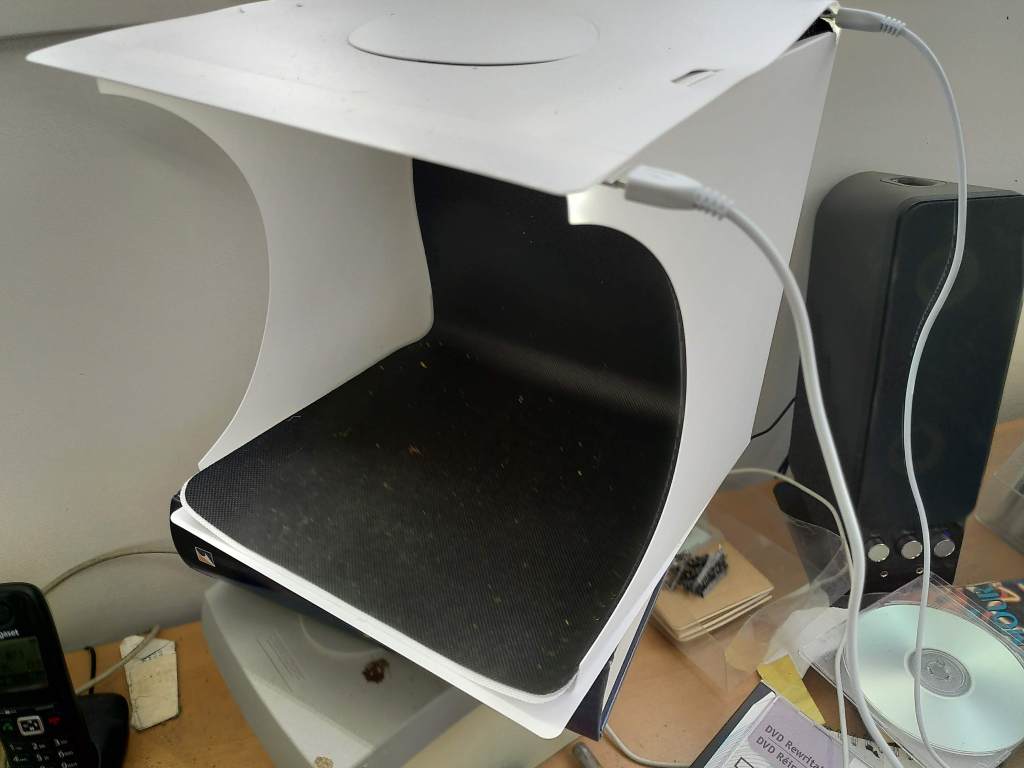
Here’s the difference between desktop pics and lightbox pics.


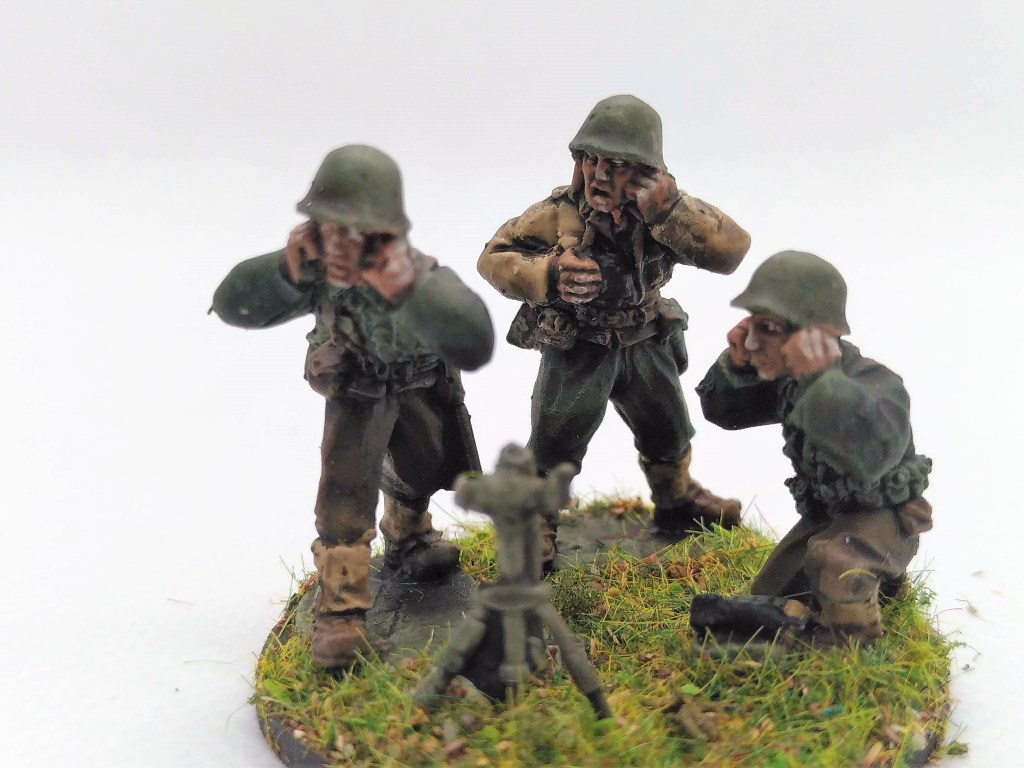

Tip #2: Make Pictures at Eye level
Here’s the Warlord mortar team photographed at eye level. IMHO, the picture makes more impact.

TIP #3: Buy A Simple Smartphone Photograpy Kit
I bought a versatile Kodak kit, with tripod, wide angle, macro and light. Depending on the retailer and postage, 30-45 euro online.

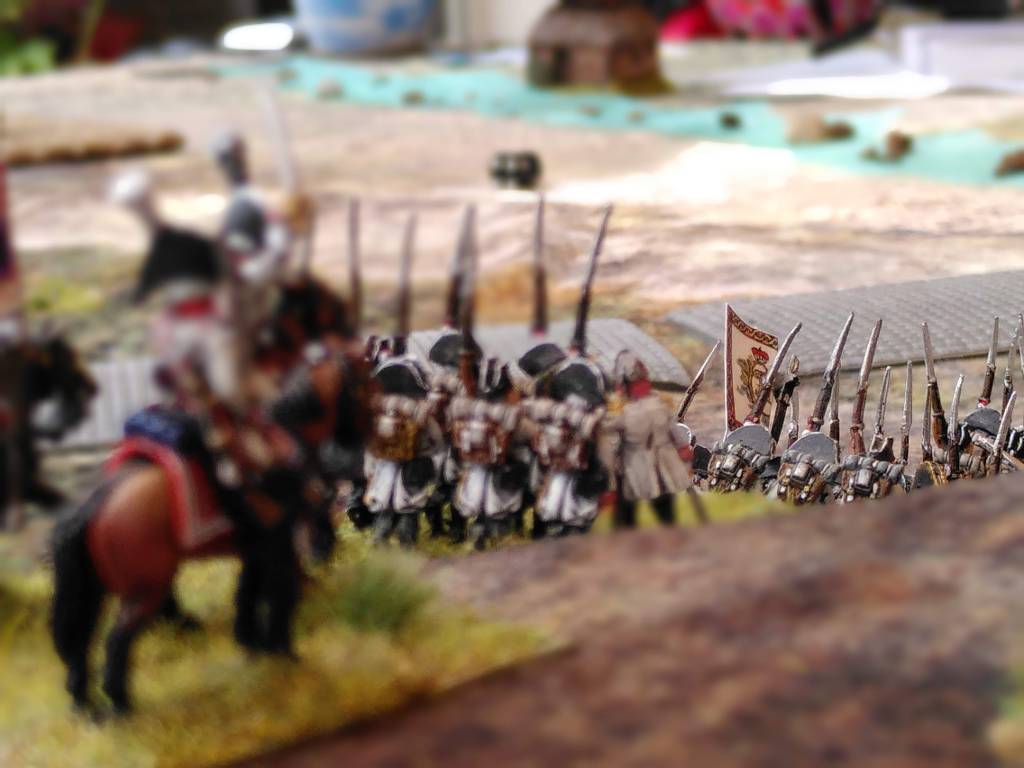
I can us this for lightbox photography, but also for wargame battle reports. Below pictures from a 15mm Napoleonic battle.


Tip #4: Use The Macro
As you see above, with the tripod and the macro lens, I can zoom in to interesting details and make pictures without trembling. No more out of focus!


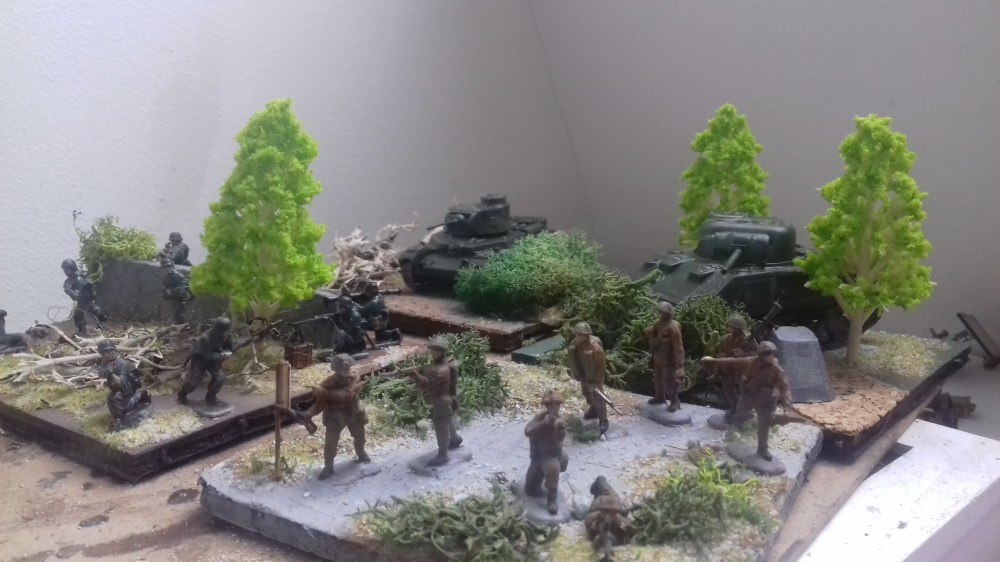
Tip #5: Make A Simple Backdrop
With foam, a landscape picture from google, flock and trees I made a simple terrain base. Following online advice, I added bush in the background for a smoother transition from scenery base plate to backdrop.

I placed it in the lightbox.


Wargame with Bob Ross! Happy little trees in the background!
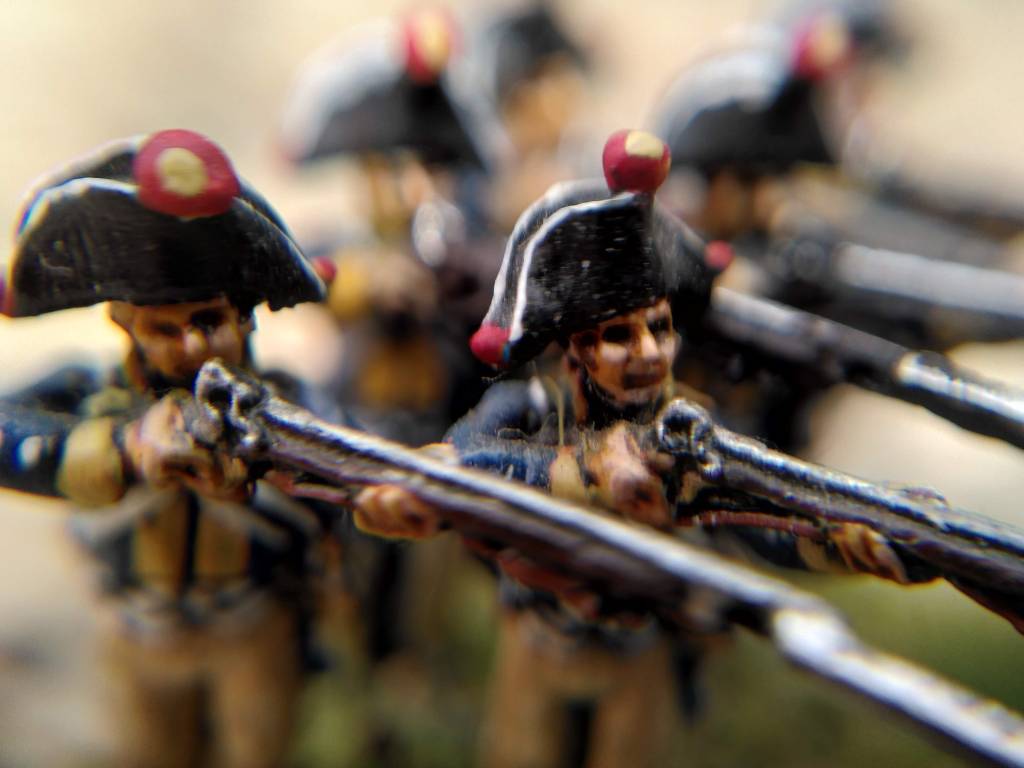
Tip #6: Add artificial Depth

In this famous picture, the helmets in the front row add depth to the picture as a whole. For a ‘diorama picture’, don’t make a picture of the miniature, but use scenery, equipment of part of another miniature to make a better composition.
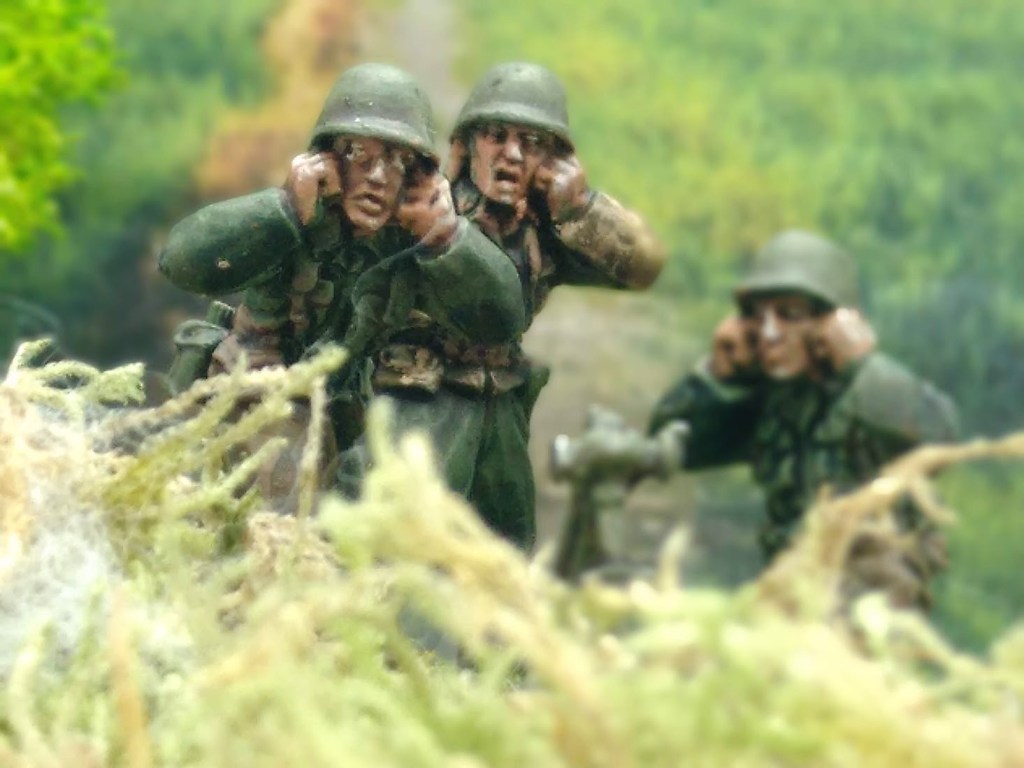
The bush suddenly adds depth.

Tip #7: Improve the picture with the magic button
My pictures are uploaded to Google Photo’s. In GP, I use the ‘improve’ magic button filter. I have no idea what I’m doing, but the effect is spectacular. The flat colours and shadows become richer.
Google Photo’s also has preset filters. The macro picture below is already good.
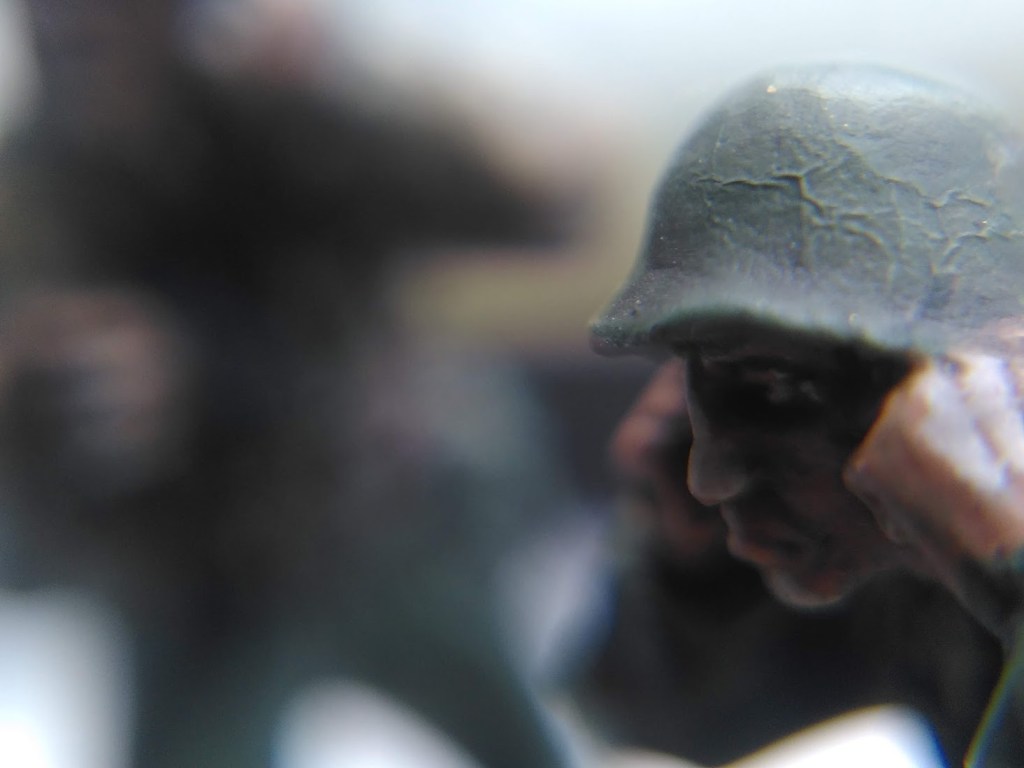

But this is drama. Time Life pictures of Bolt Action! Saving Miniature Ryan!
For comparison, I post a picture that I shot a couple of years ago, with a standard pocket camera. A very ordinary, if not boring picture, I have many of this kind.
Looking back at my earlier pictures, I think : I spent so many hours and days with shades, washes, inks, fine paints and fine brushes. Why spoil all that work with a couple of lousy photograps? Honour your heroes. Time Life them!
Useful photography Links
Camera Beginners Guide: Tale of Painters
Lightbox: Use Tangible Day
Composition, battle reports: Tangible Day
Backdrops: Modelwarrior, Lead Adventure Forum
Display base: Pijlie
Warhammer photography: Games Workshop
Photography for Wargamers: Henry Hyde
Battle Reporting: My personal take on battle reporting and miniature photography tips: here, Examples of battle reports in graphic novel style and with my Kodak kit: Lasalle, Bataille Empire.

Alweer een hele leuke post! Ik verbaas mij er elke keer weer over hoe je erin slaagt een onderwerp te pakken te nemen dat mij zeer interesseert en het dan simpel en doeltreffend toelicht en uitlegt. Perfect gedaan, en dank voor de tips!
LikeLiked by 1 person