

The Jerries, Tommies and Yankees painting guide
The Colour of Field Grey & Other Life Questions
In addition to my long blog about scenic 6mm basing, I publish here a shorter painting guide about colour schemes etc and painting techniques, as a separate piece. I also published a painting guide for French 1940 troops. Crusader Farnworth 28mm guides can be found here, My guide is 6mm specific.
A fella on TMP published this sound advice:
“The #1 lesson I’ve learned is that when you set those little men on the table, all that detail and work just disappeared. Here’s my recipe now:
1- Do the main uniform color in a way you will be able to recognize, even if it is a little ahistorical. You want to be able to tell them apart from 3 feet. That may mean putting Germans in gray, or giving them all dark helmets. Too much camo, and they look like Americans. Use different shades for Africa uniforms. Use a nice contrast for packs and gear, but don’t overdo it.
2 -Add a color for the boots, but be mindful of how you will base them. If you use a lot of flock on the base, the boots may disappear.
3 – Do weapons in an appropriate color.
4 – Do the flesh.
6 – Do the helmets after the flesh, it’s easier.
7 – Add any color you want for officer’s insignia. I’ve found its OK to be a bit too large or bright, because you want to see those red patches from a distance.”
Other useful advice was “to paint your helmets, then mix your helmet paint color with a slightly lighter shade, and put just a drop on the crown of the helmet. It highlights the rounded shape of the helmet.”
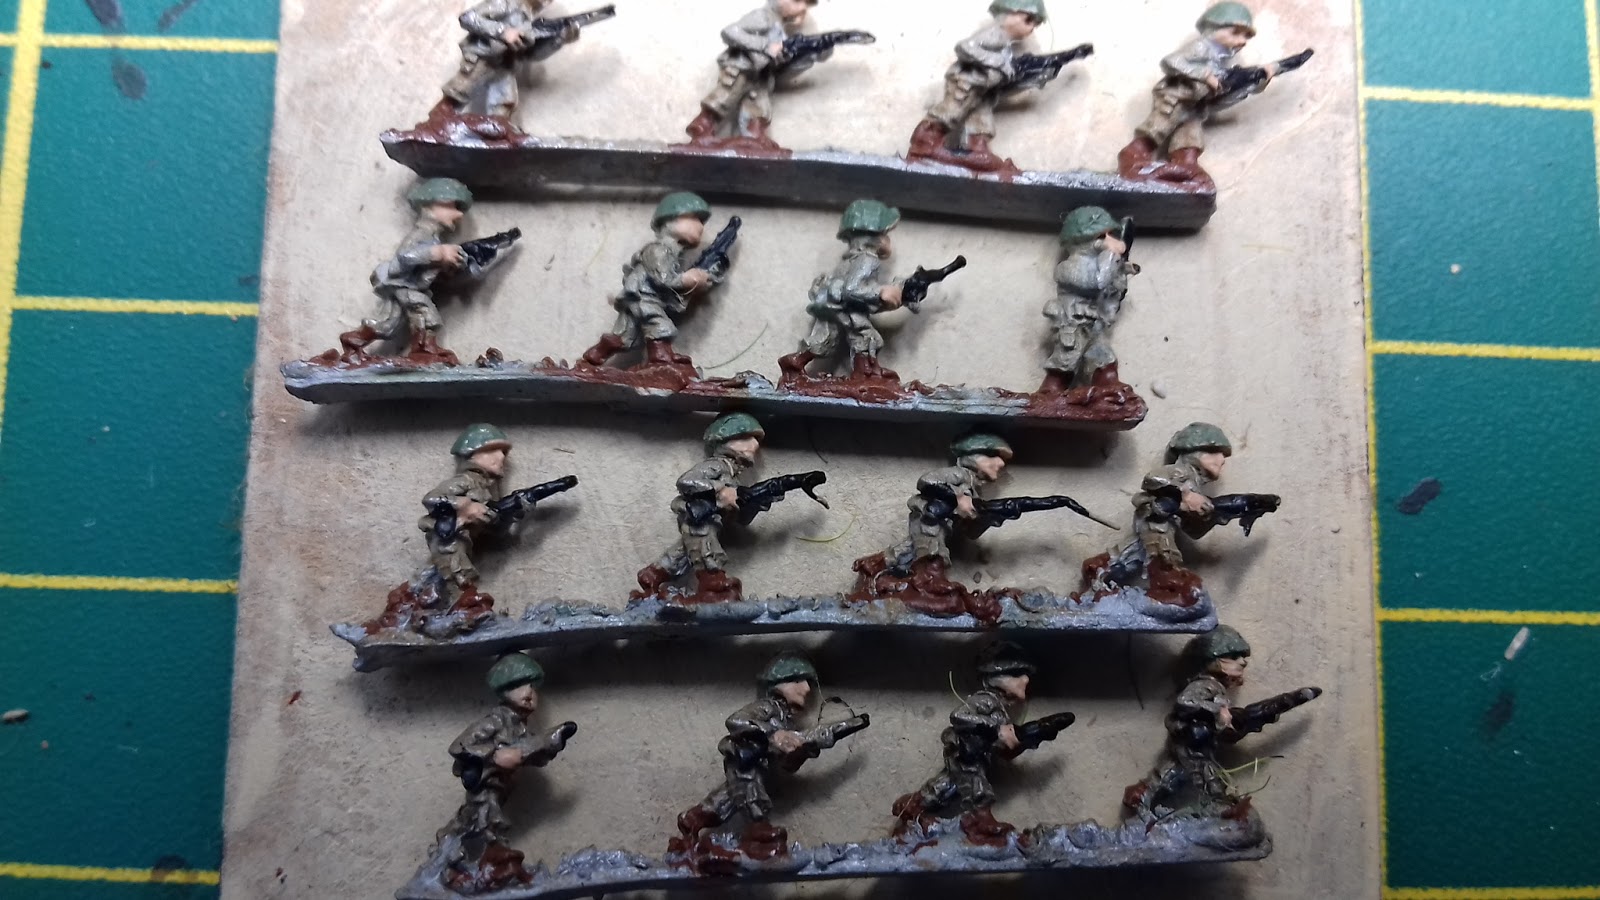
6mm painters have different opinions about the primer colour, some prefer black, others white. Black is often too dark, and with a white primer I must always correct forgotten white dots. So I prime German infantry in grey, Americans in green and Brits in brown. All weapons black.See below for detailed instructions.
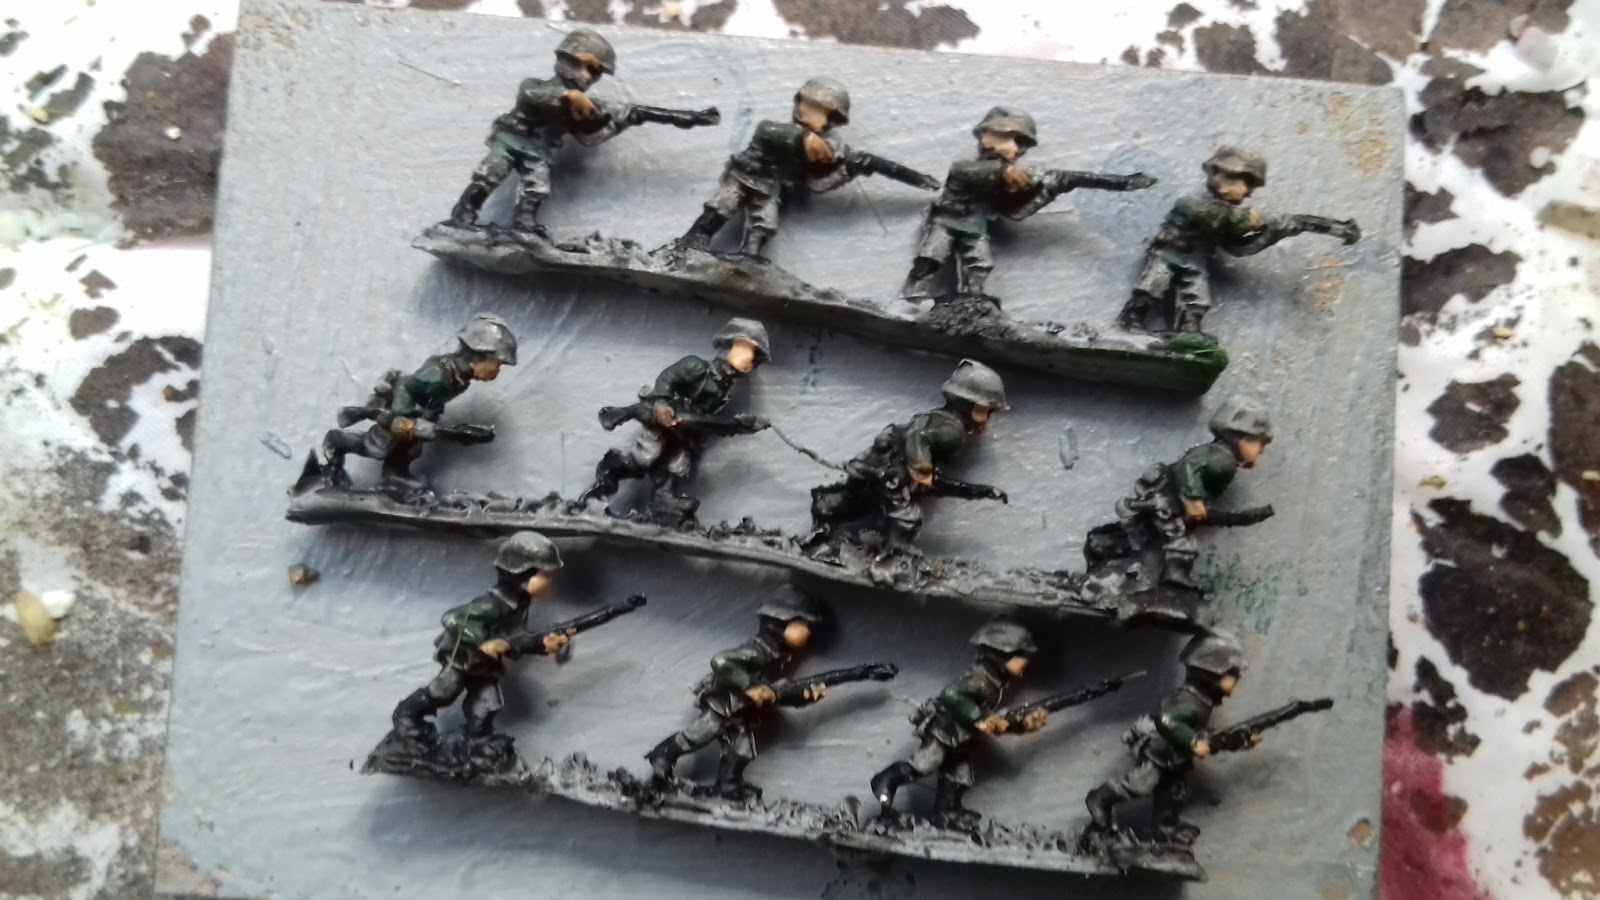
Germans: Wehrmacht

Early war Germans had a greenish-grey Field Grey jacket. As you see above, Field Grey had many shades and colour changes during the war. Plain grey is a simple option. Some painters advise to prime blue and drybrush with grey.
However, I like the textbook 1940 field grey Germans, below. So:

- I primed (mid)grey with hobby store spray paint
- Black wash.
- Jacket with Vallejo German Uniform (the same colour as Dark Reaper Citadel – Base Layer – #3B51509.16 apparently).
- Boots and weapons black. (weapons not brown or silver, keep it simple)
- Face and hands.
- Light grey dot on the grey helmet.
- Glued on a grey base
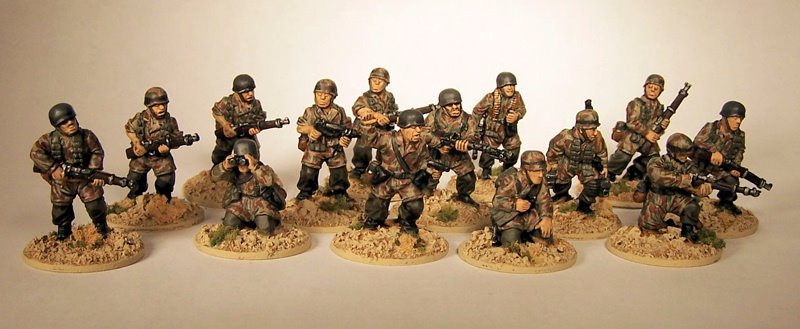
German Waffen-SS
I just don’t like the Waffen-SS, not even in 6mm. Scum. Inevitable as Black Orcs, however, if you want to wargame D-Day, Arnhem and The Bulge. They had camo which is nearly impossible to paint in 6mm, often a greenish camouflage jacket. But they also had brown variations.

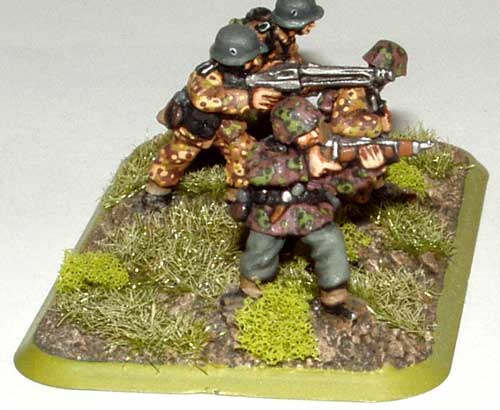
As you see above (pic from the Flames of War website) this is clearly an orange-brownish camo jacket. I decided to paint the SS-jackets and helmets orange-brown, the exact colour is Citadel Ratskin flesh. With green they are too similar to US or standard German Wehrmacht soldiers. Bone flesh dot on top.

As you see, the Wehrmacht and SS look different and are easier to identify this way.
German Fällschirmjager
A good guide about the German paratroop elite unit can be found here. But again, what counts for me is that any 6mm is recognizable in the first place. Not historical.
- The trousers were a lighter, more blueish grey. Not Field Grey. For 6mm I overemphasized the blue so I primed them blue.
- The Schmock had camo from 1941 on, in a green/grey and a red/brown-Splintermuster-variant. Just like the Waffen-SS, the problem with green is the similarity with Wehrmacht and Americans. So I painted their jackets red-brown Ratskin Flesh.
- I researched the colour of the Fällschimjager pot helmet. According to some pictures (of painted miniatures, not real-life soldiers) and painting guides the helmet was blue. According to other more reliable blogs the helmet was Stahlhelm grey or camouflaged or greenish grey. You can paint them blue to make them more recognizable, but the blue helmets were probably a very rare pre-war training, test or parade variant. Stahlhelm grey, brown or green are more common, so I painted the helmets Army Painter ‘army green’ to emphasize the difference with the Wehrmacht and the Waffen-SS. Small grey dot on top.
- Besides, all Fällschirmjäger bases have a blue rim on front of their grey bases.

For a full, detailed overview of the German soldier uniforms with pictures of life-size uniforms, look here.
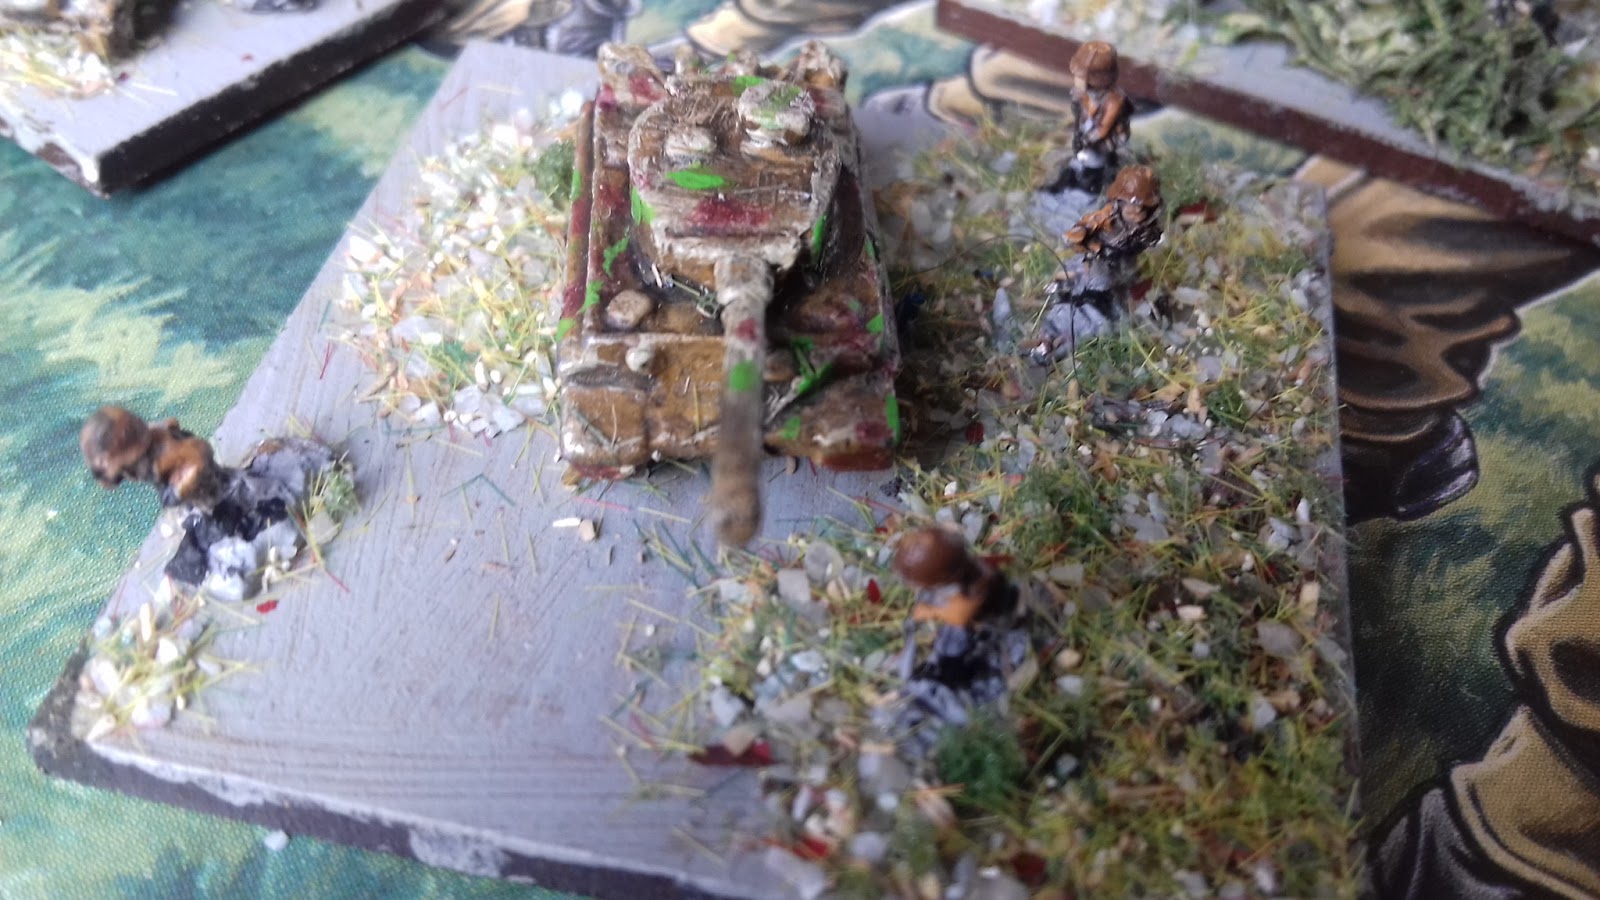
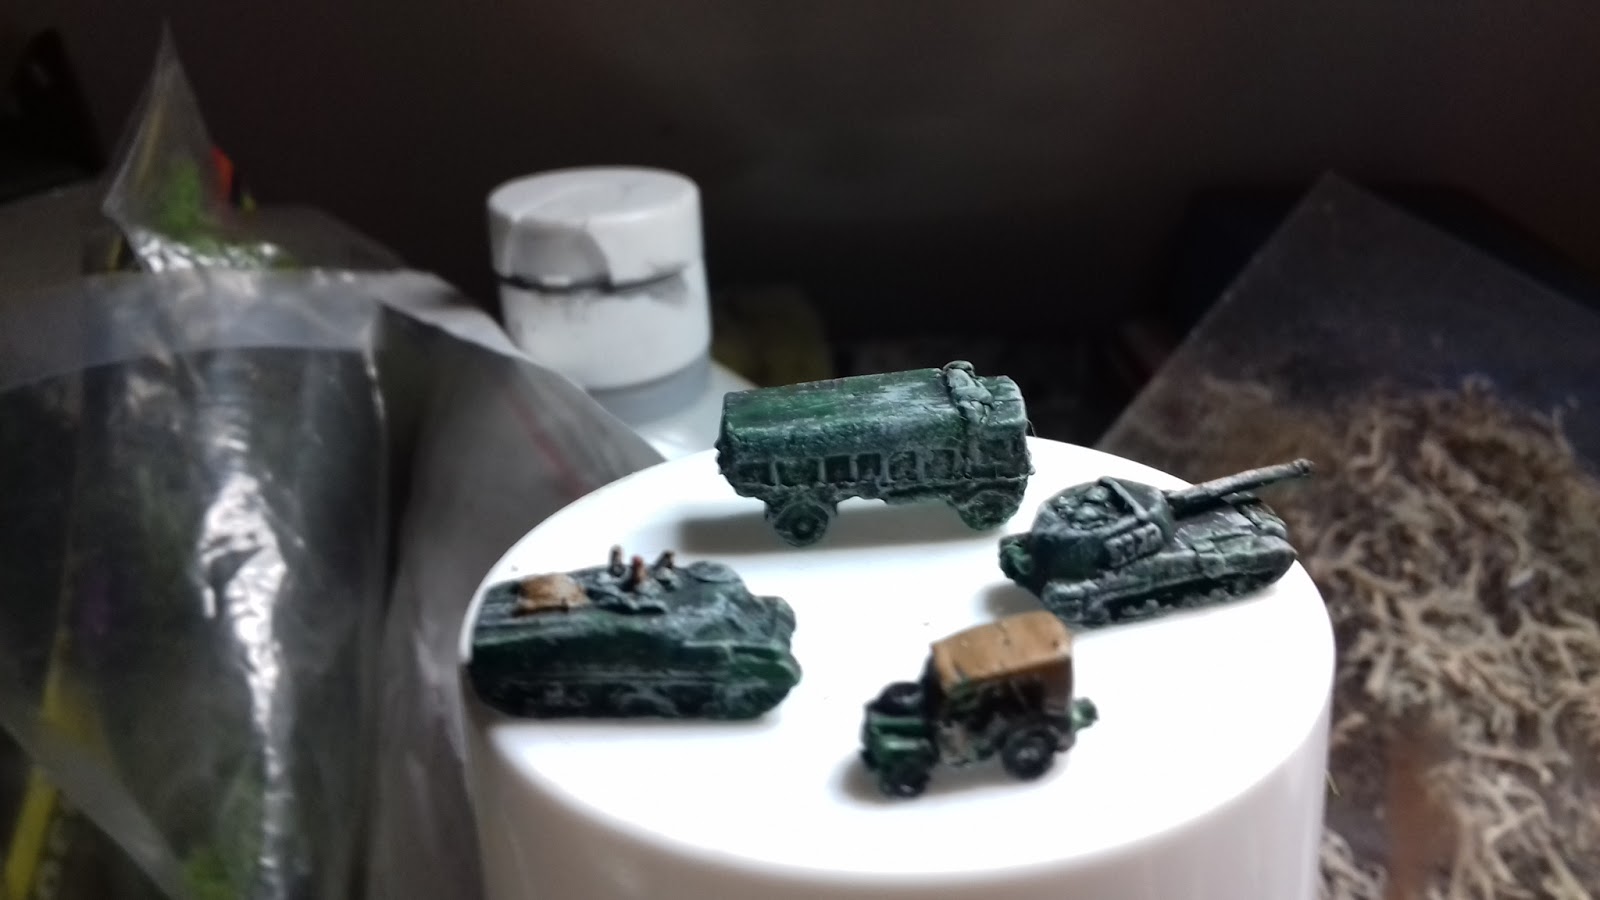
German Late War Vehicles
Early war is simple grey: light grey base colour, dark black wash, finished. For late war with Dunkelgelb as base colour I found an excellent guide here.
I found many online pictures, like below.
‘Dunkelgelb’ is a variety of colours. If I would use the true camouflage colours my tanks would vanish on the tabletop. My recipe.
- In 6mm I spray paint the vehicles sand brown (acrylic spray paint from a local hobby store, more or less a mustard colour
- black wash
- drybrush with bone yellow (extreme highlighting)
- grass green and reddish brown / brick red as camouflage colours.
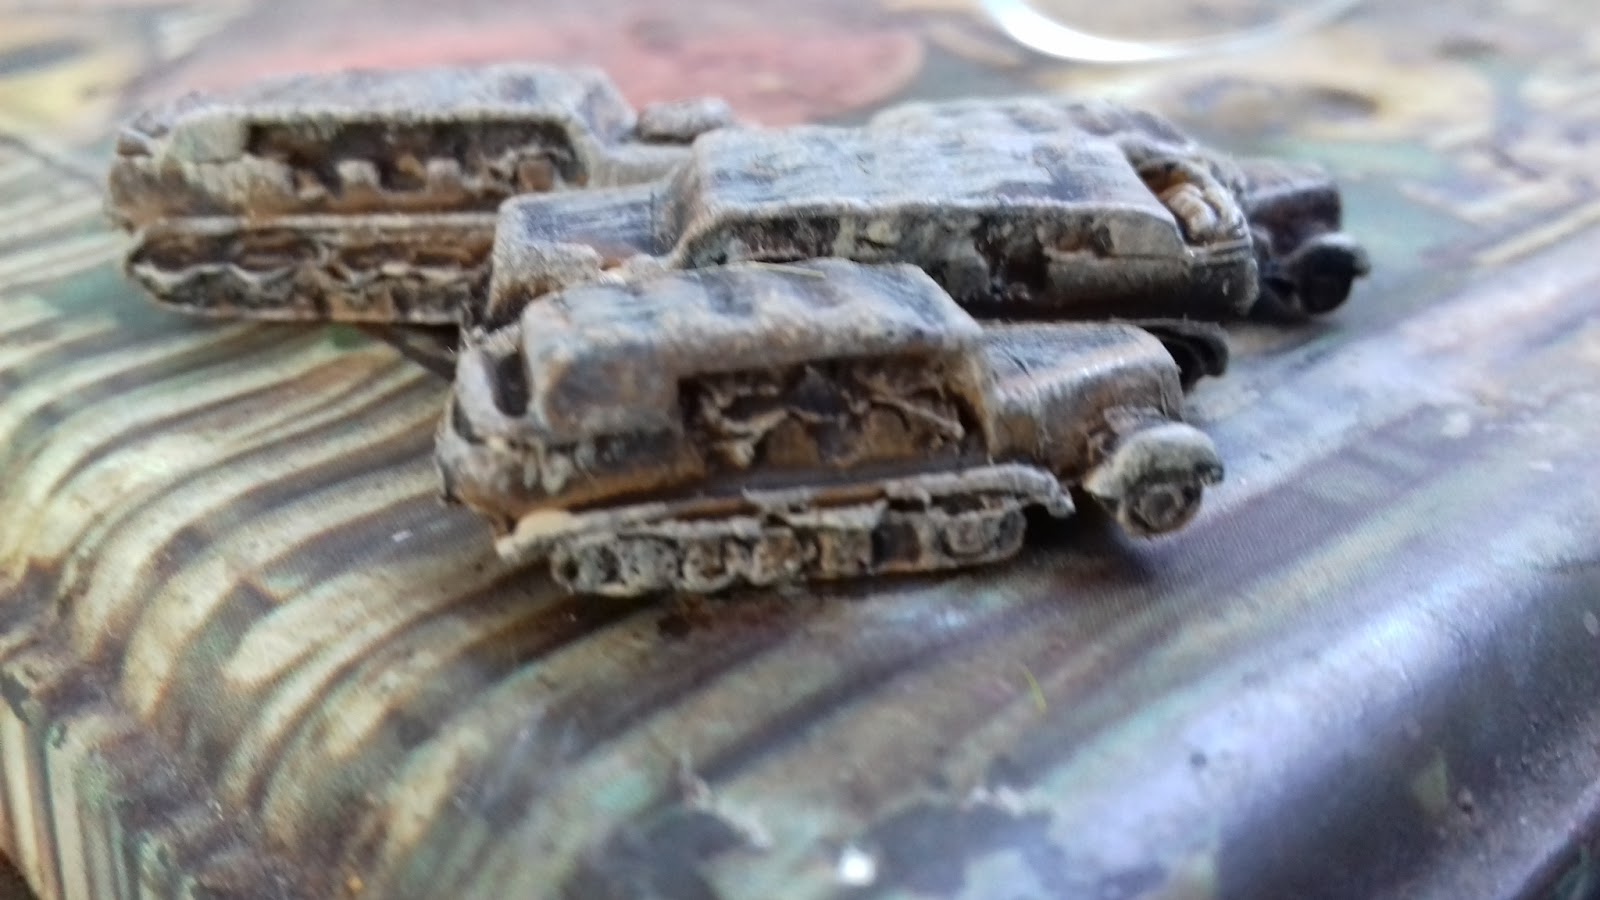
Standard chocolate brown and army green is too dark IMHO at arm’s length. I want ‘shiny’ armor 🙂
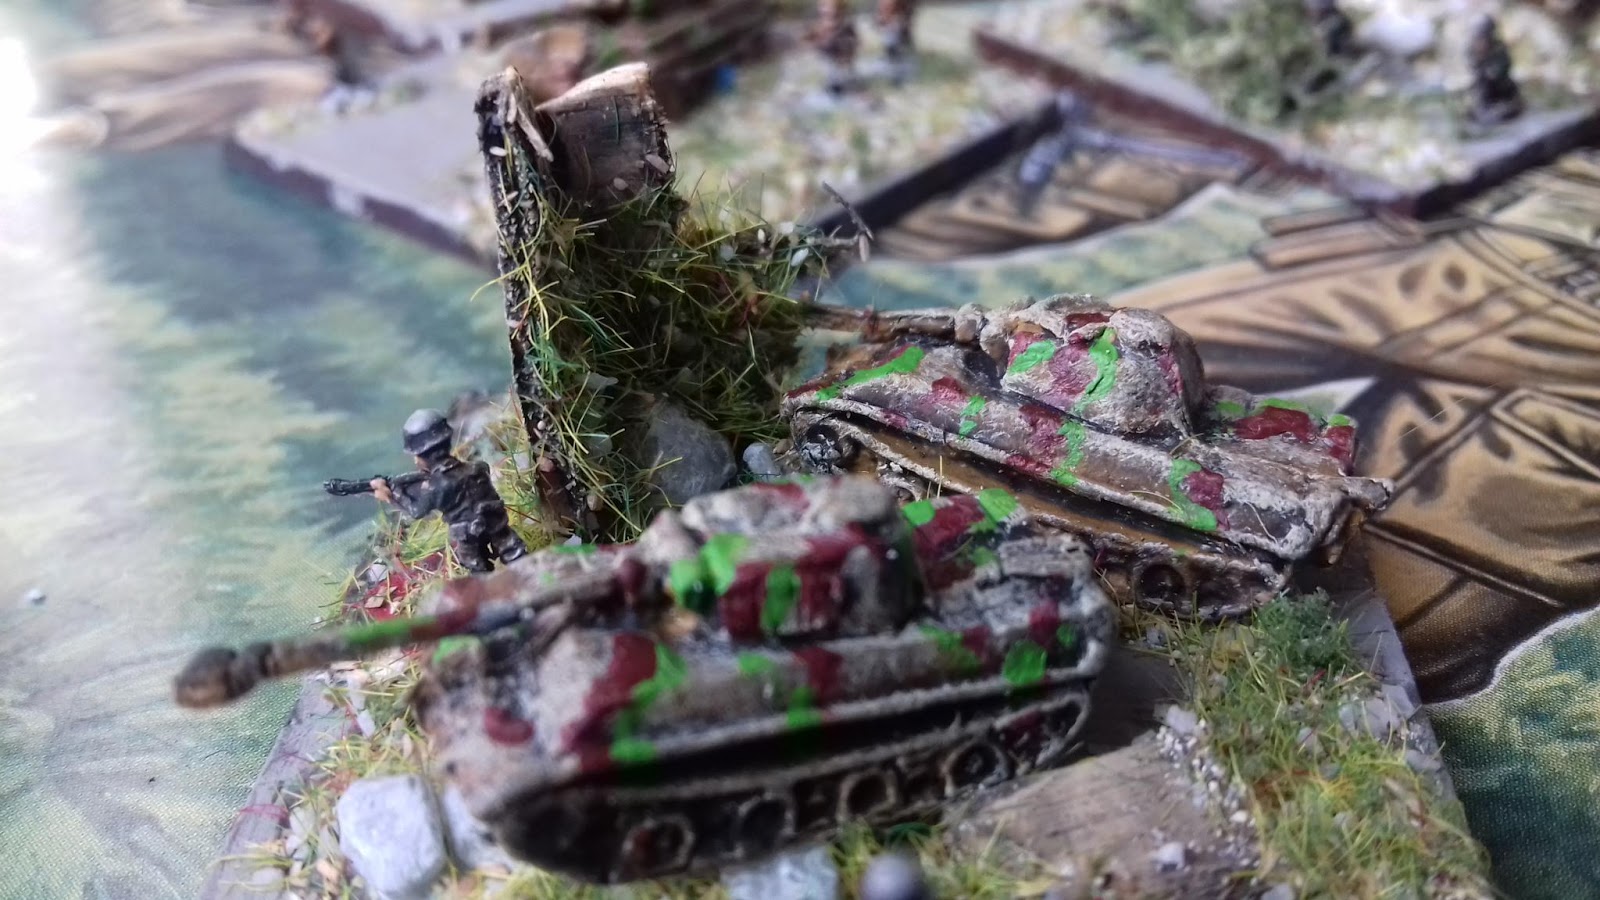
I finished the job with relatively big white Balkenkreuz-decals.
The Common(wealth) English Lads
Best guide is Farnworth again.
- British soldiers have brown uniforms, so I prime them brown
- Black wash
- Bone yellow highlight
- Backpack and helmet AP green. Grey dot on top.
- Glued on unpainted brown bases.

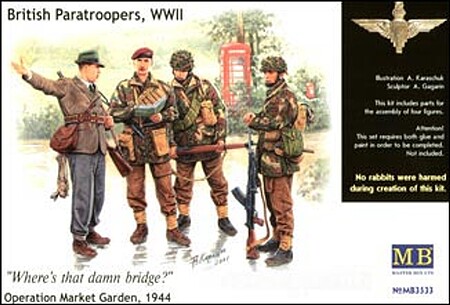
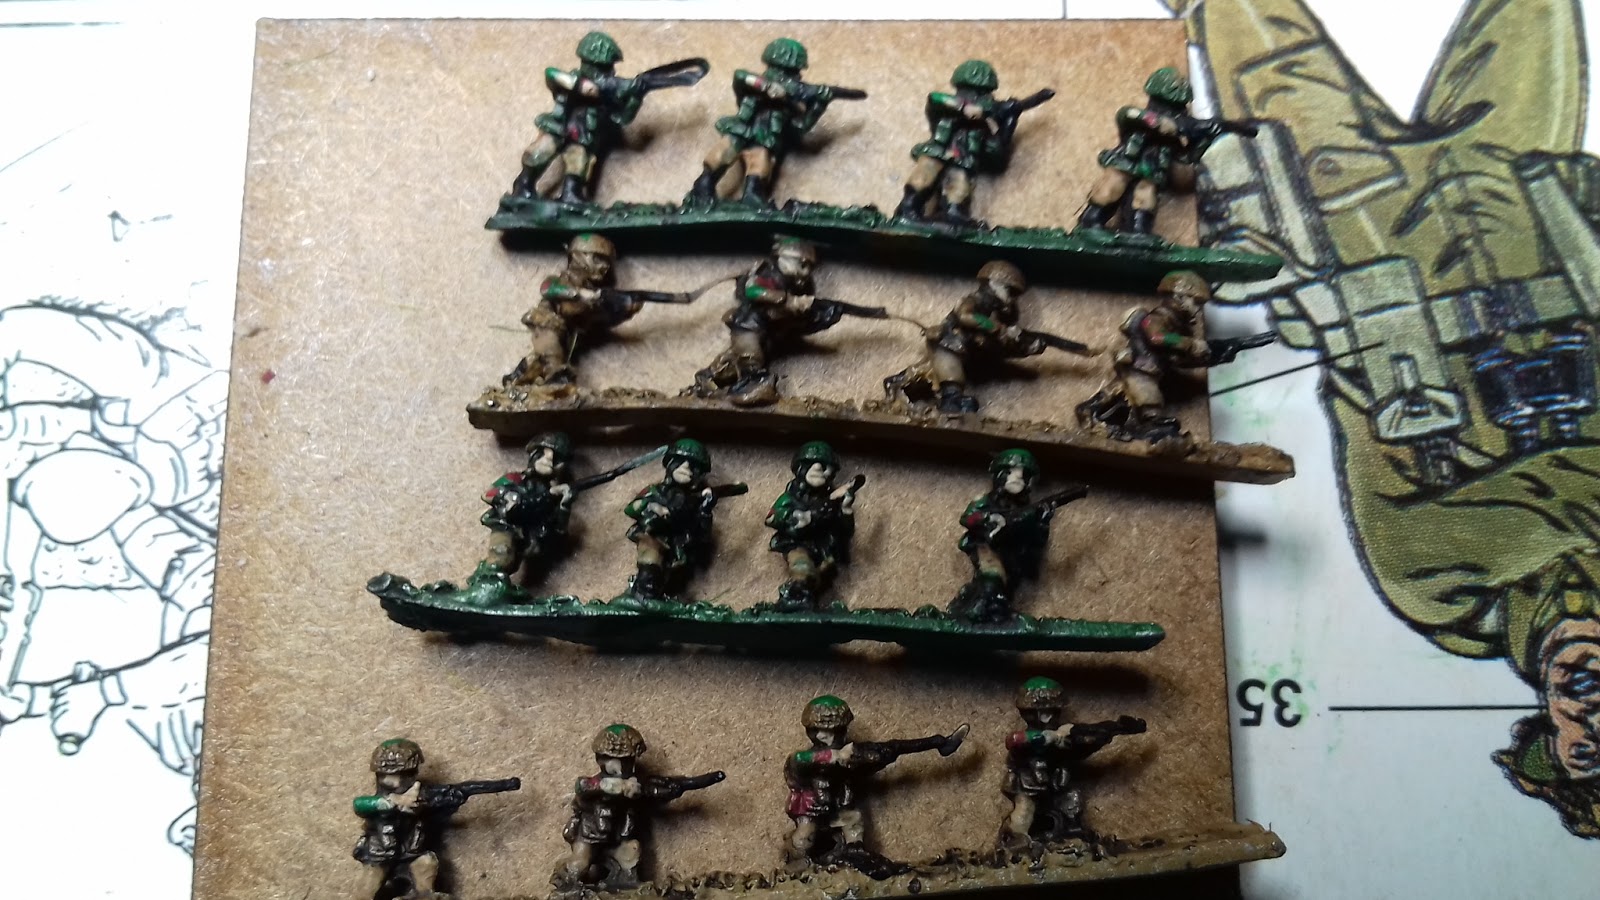
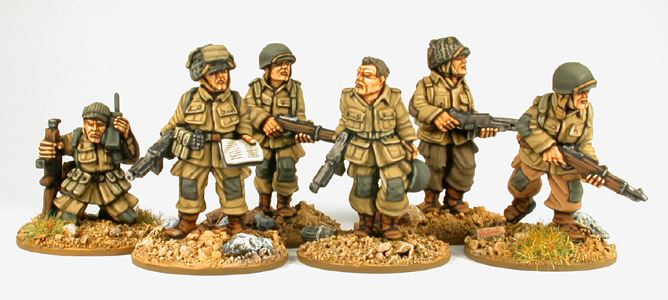
Horrible British Paratroopers
I call them ‘horrible’ because the UK para’s have an in-between British infantry and US-style para uniform. 6mm is all about recognizability – at arms length.
Besides, they have – aaargh – CAMOULAGE! And camo is hard to paint.
If you paint them brown with green helmets and a red beret now and then, these 6mm miniatures are the evil twins of the regular British troops from a distance.
But if you paint them green they are the evil twins of the US Army. In the end I primed half of them brown and the other half green. Two-colour priming is an optical trick to increase the variation. Next:
- Black wash
- I painted the jacket or trousers in the right other colour.
- I added red, sand yellow and grass green dots
- Berets bright red with orange highlight
- Bone yellow backpacks
- Preferably a red beret on every base. Extra red rim on base
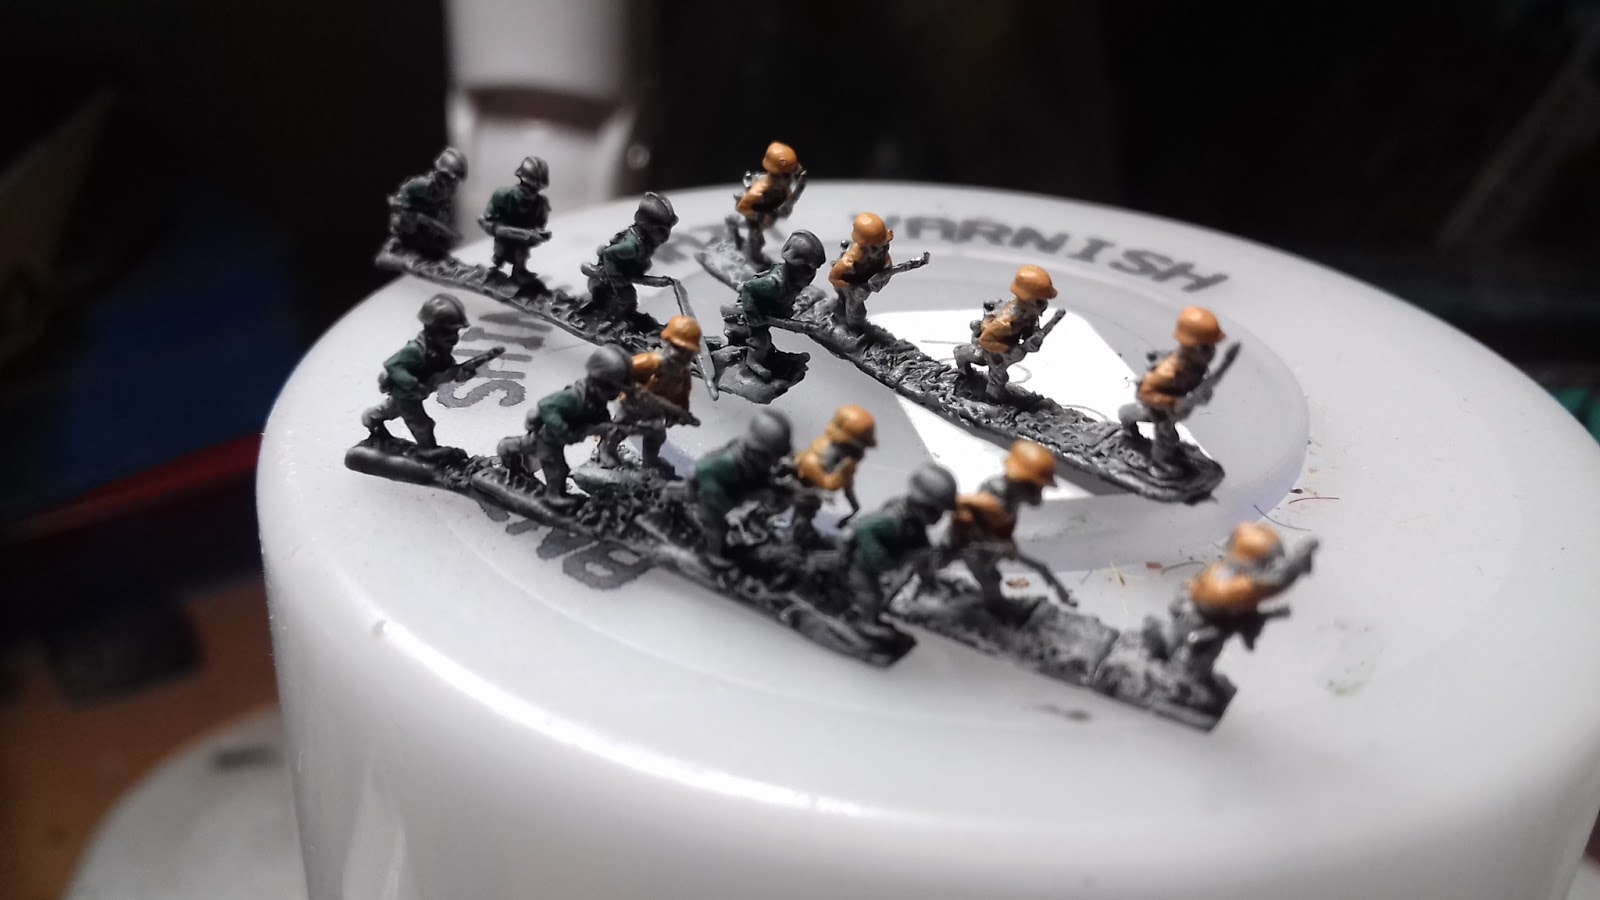
The Average GI Joe
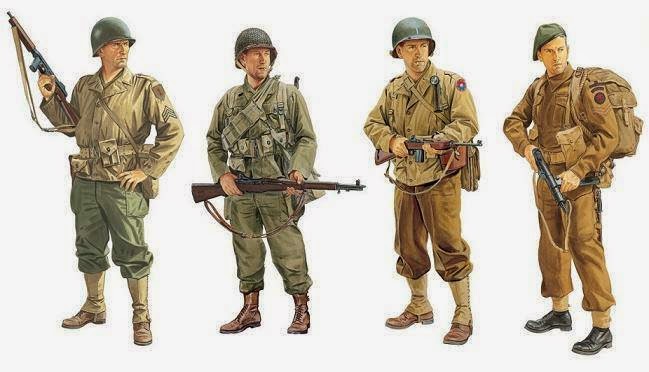
As you see above, the Americans wore different colours. They started the war in brown and finished in green, and had a couple of varations in between. Mixed green, brown and sand uniforms were common in 1944.
- I base my 6mm in brown and paint half of them with a pale white jacket, and the others with green.
- Boots red-brown. Helmet army green
- Green was more dominant in 1944 than brown, but the buff / pale white colour makes them more identifiable. I mix pale white and green soldiers on a yellow/khaki base.

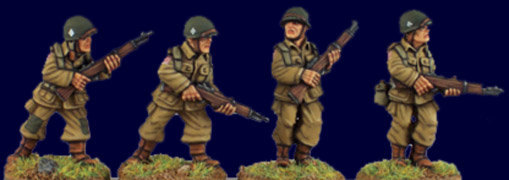
The paratroopers had a sandy uniform until D-Day and an olive green uniform from September 1944 until the end of the war. The pale colour was not grey, not brown, not green – different painting guides show different colours.
- I primed my 6mm giants grey
- Then washed them army green, to accentuate the (small) difference with the browner British uniform and green uniforms.
- Army green helmets and red-brown shoes.
Allied Vehicles
All Late War allied vehicles were army green. Extreme highlights work here too.
- So I prime them green
- Black wash
- Grey highlights, drybrush
- Don’t forget the decals!

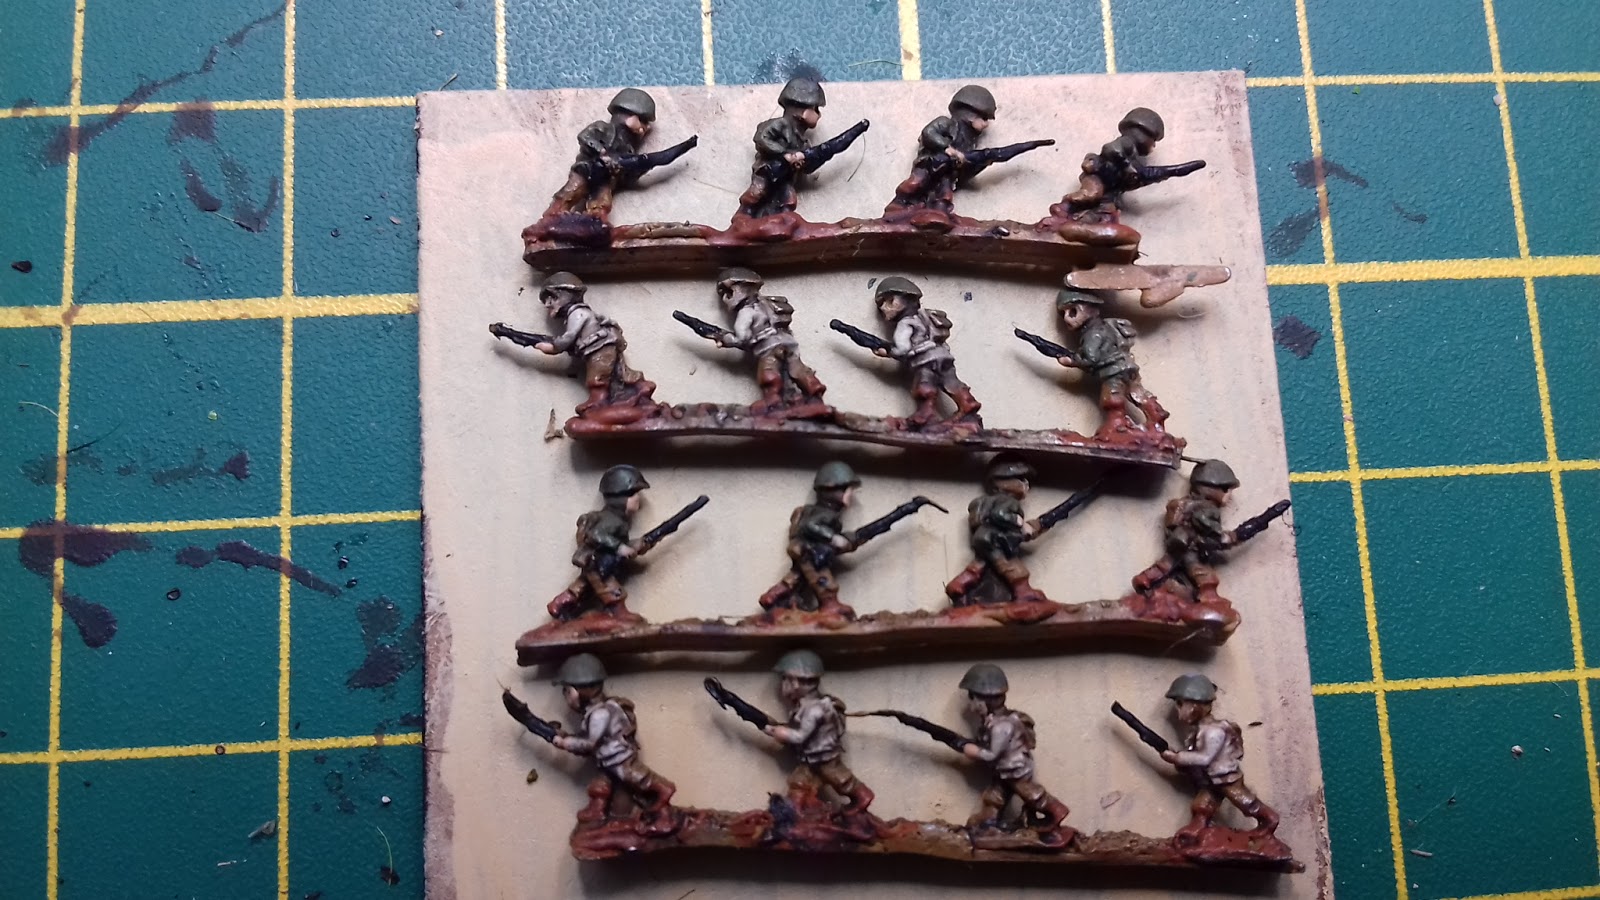
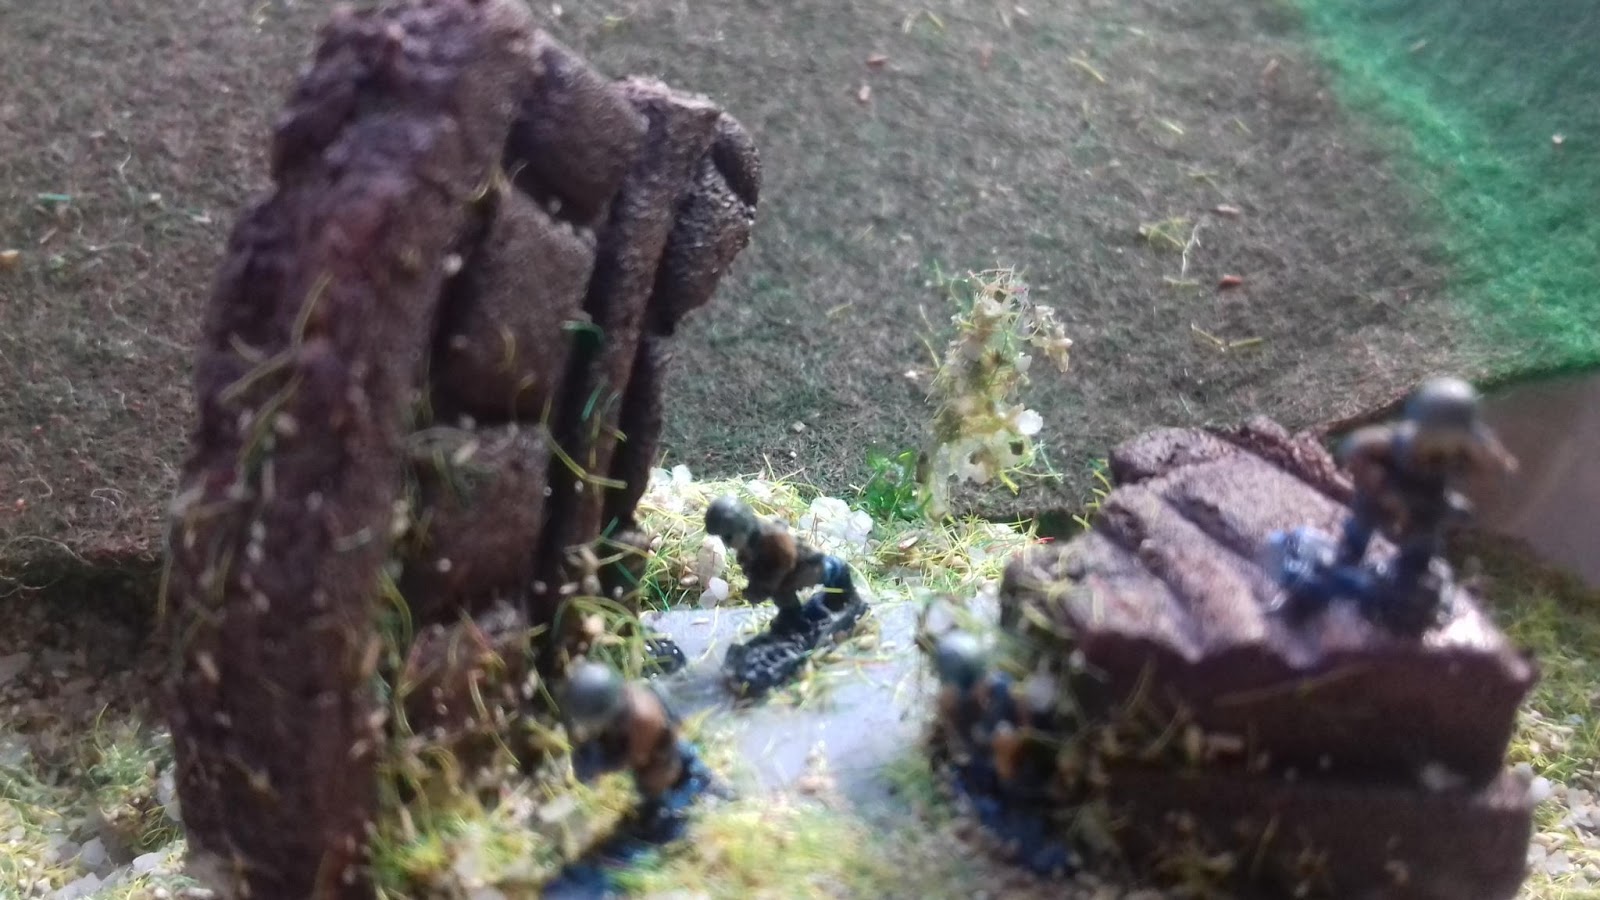
A few finished examples


Thanks this is very helpful. I am going to try your technique for painting some 6mm Alder German SStroops, what colour is “Bone Flesh” is it just a light bone colour / ivory? Also do you apply a wash to the figures (dark brown)?
LikeLike
I think I mixed up names. I used light bone/ ivory, I suppose Vallejo Skeleton Bone, but I have several paint brands on my painting table. I apply a dark wash after priming but before painting. I might have reapplied a fast brown wash over the brown jacket, to add depth again. Not sure after such a long time.
LikeLike