

This week Donis Lopatka published an excellent painting guide in the 2mm Facebook group that was very instructive.
Recently I wrote my own 2mm painting guide with best practices from other painters, because hints and tips are more or less scattered over the internet and sometimes seem contradictory. Donis is not using contrast paint, as I do, but is using drybrushing as technique. I like different approaches to the same problem.
Facebook sadly is not an archive but more a diary with pictures and I wanted to save his step-by-step-pictures for posterity :-). So I blatantly copypasted his Facebook tutorial with his comments here below, for own referral and to help others who are googling how to paint 2mm.
You’re a great painter, Donis! All credits to you!
Lopatka wrote:
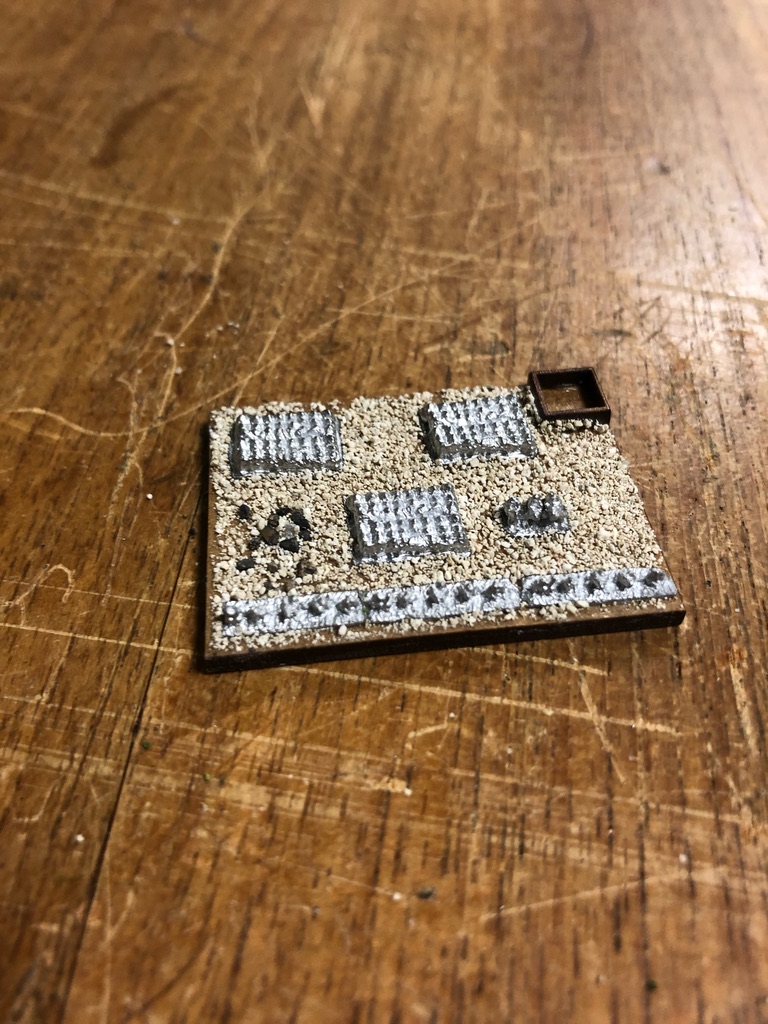
The base is 4 x 3 cm. The larger stones I clustered together to get a better effect later on. The die holder is from minibits and it holds a 5mm die. 
Spray paint everything chocolate brown. Now the sand already got it’s base color and the minis are primed. I prefer a dark primer to get a better “3D effect” with shadows as a final result (I never tried white or grey primer I must say). Somewhere I read a brown undercoat is better than a black one because the colors will be brighter. 
I didn’t find my primining dark enough and so I put some Vallejo Dark Tone (that’s a dark wash) around the figures to separate them visually from the base. 
Give the figures a grey drybrush. This helps your eyes identifying the small detail like hats and backpacks and also brightens up the main colors. 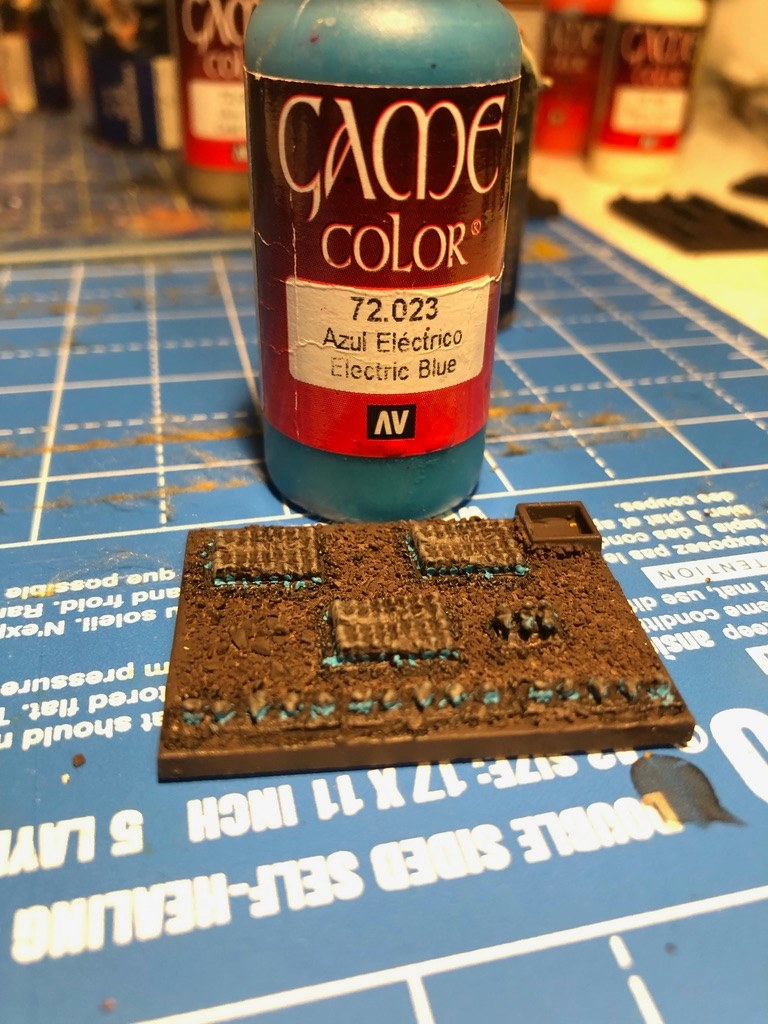
This will be some hungarian infantry, so I paint some light blue dots where the trousers are supposed to be. The important part is to leave some brown undercoat between each soldiers trousers. This is essential in my view to trick the eye to see individual soldiers from far away. 
Now the same with some white dots. See the brown between the white dots? 
A golden dot for the shako plate. Or was it helmets I paint? Identification of the single heads should be easy due to the grey highlighting which was done before. 
Backpacks leather brown. And again dots one last time. 
Some more brown and red for the officers horses. Normally I pick a color a step lighter than for example for 10mm. So my basic red for 2mm units is actually a hot orange. 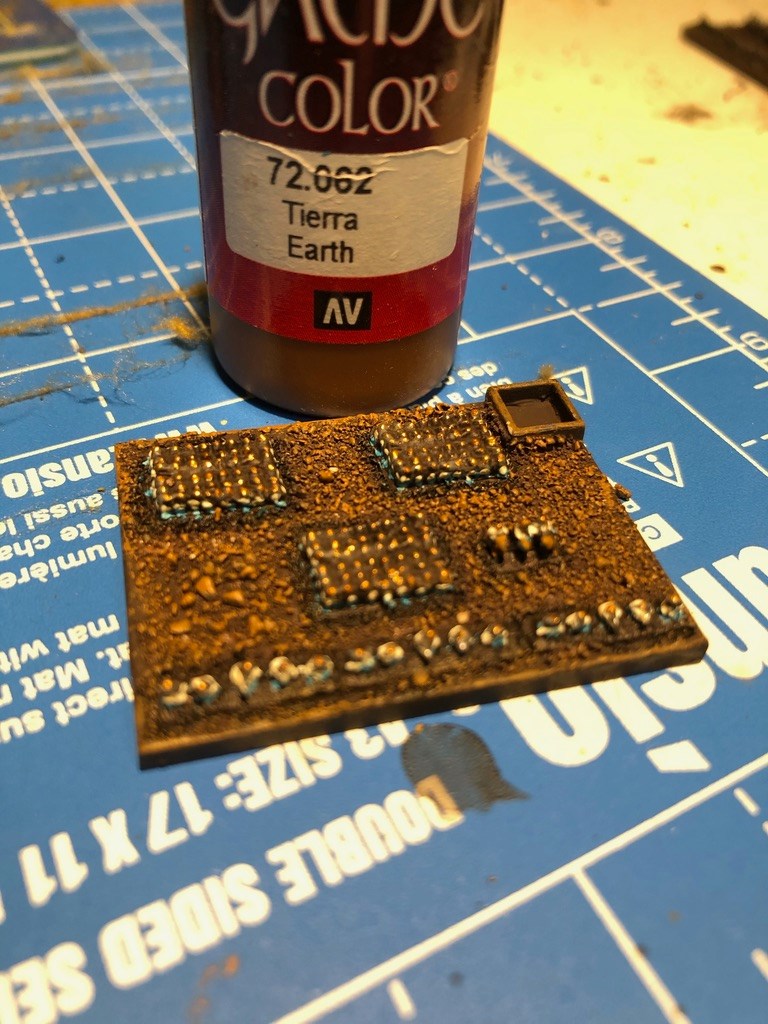
The soldiers are done for now and it’s time to do the base. Drybrush the sand with a medium brown. Watch out to leave some of the dark shadow around the figures. That’s why we put the wash on before. 
Give the base a bone colored lighter drybrush. Do you notice how the figures suddenly disappear within the light colored base? The picture before had a better look I think. But this will change again when we flock the base. 
Tada, now I looks better than the beige stones before. Notice the group of rocks I didn’t flock. Also around the blocks I have kept some distance with the gras in order to keep the shadows. 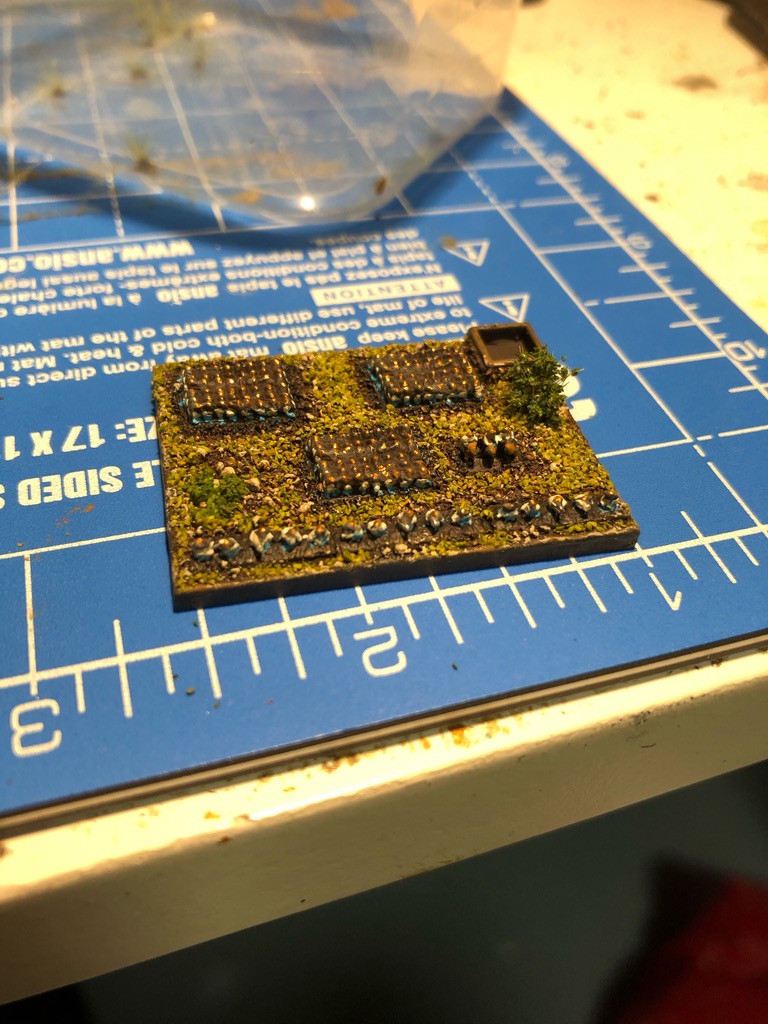
Next add some vegetation. I put the bushes and trees together in groups as I did with the stones. It’s hard to see but there are three little bushes on the left side. The lonely tree looks a little bit odd. Do it like Bob Ross always said: Let’s give him a little friend. 
The tree doesn’t look lonely anymore with the accompaniment. 
Now the flags. You can get them from warflags.com. After scaling them down, printing and cutting (left flag) I prefold them (middle flag) before I put some white glue on in between. While the glue is still wet I put the flag together and form a wave pattern on the flag (two right flags). 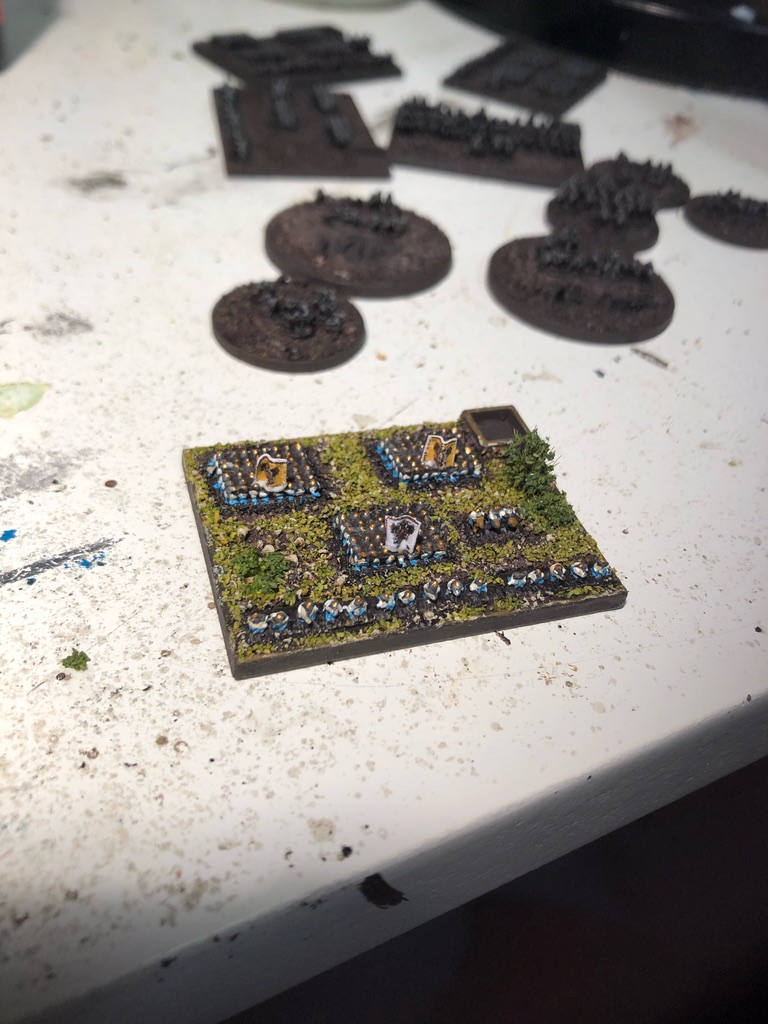
Glue the flags into place with some white glue. Some pliers might be helpful. See the ugly white cutting edges on the yellow flags? 
Now that you’ve gotten that far please take the little time and also paint the edges of the flags and the base edges. Remember: They fight for you. Have fun with your miniatures!

2 thoughts on “2mm painting – the Donis Lopatka Tutorial”