

Napoleonic Speedpainting Techniques Applied To Our 40K Raven Guard Club Army
For our Amsterdam6shooters club we bought a Raven Guard club army in September. Our club already had a few armies, a Bolt Action WW2 army and Napoleonic Bavarians, but no 40K. Not really a priority, all competitive players have polished lists and collections. Last year however we noticed an influx of casual 40k and Kill Team-players, without painted figures.
So when we found a 200 euro, mostly unpainted, second hand army on Dutch Ebay, we bought the lot. I’m a historical wargamer but also the club speedpainter, so I decided that I would finish it. Quickly.
In this guide I show how I use my standard Bonapartist speedpainting techniques on this 48-figure 40K company: 3 mechs, 6 bikers and 39 infantry. If you’re that typical anal-retentive, perfectionist 40K-artist, take a deep breath and prepare for heresy.
Army Composition
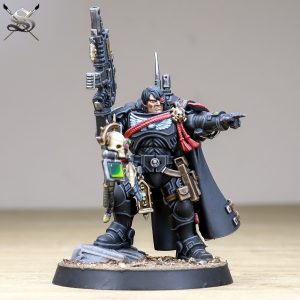
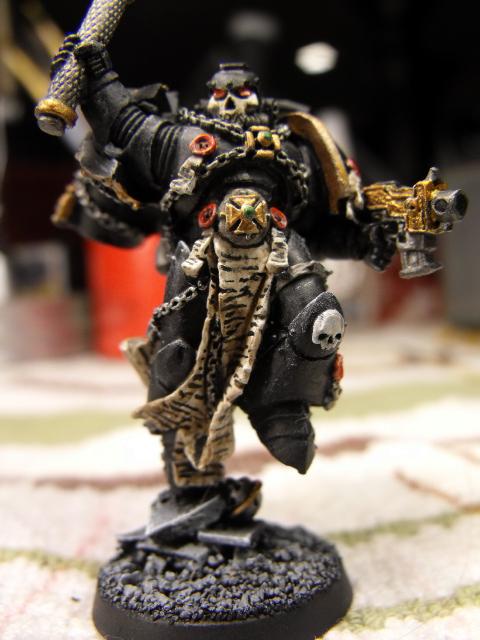
I researched online pictures because I really had no idea what for example a Raven Guard Ancient is, or an ‘Infiltrator‘ or a ‘Warsuit‘. I never played 40k! IMHO, they’re all American Football Players on steroids. I can identify a 6mm Napoleonic Red Lancer from 3 feet distance, but in 28mm 40K I’m a total newbie (yes, I do feel myself old sometimes). Here’s an impression of what we got.


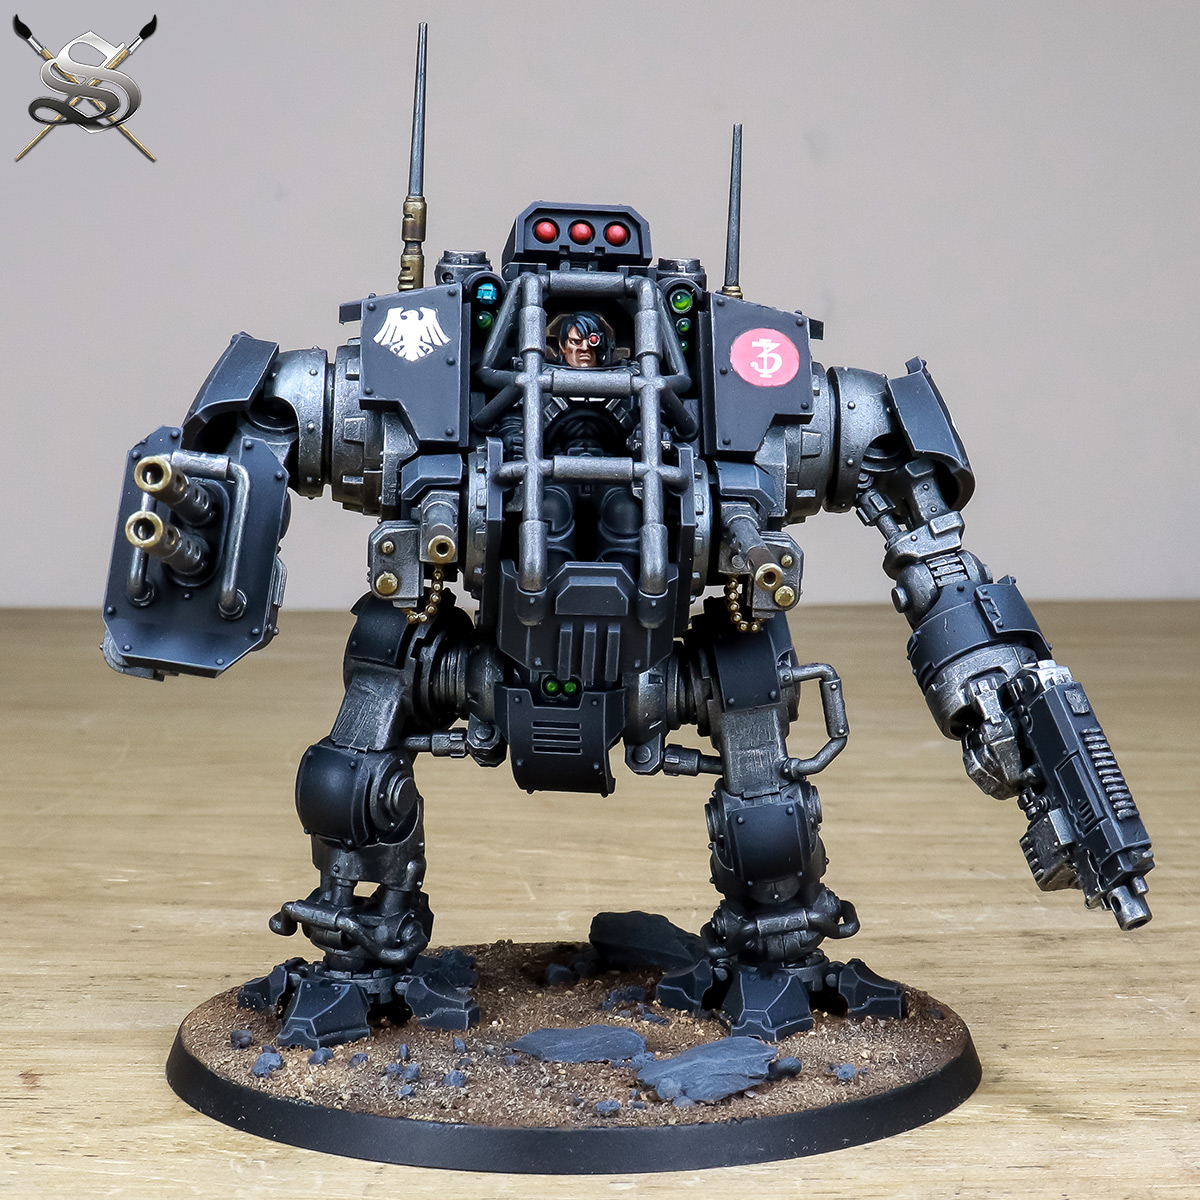

Great deal. The mechs and the bikers alone cost more than the €200,- we paid for it.
Colour Scheme
I found a colour scheme online.

It s too complex for my mass painting project. I’m a historical painter, so I recognize the shako colour coding of late war French Napoleonic companies. That’s exactly why Napoleon lost Waterloo: his reserves were busy searching for the right pompon colour to wear.
I prefer more uniformity. I used the scheme above only as inspiration, black-red-white would be dominant. No special trim colours, only stylish red. Forget it, baby! Your general wants an army, not a collection of circus clowns!
I consider these Raven Guard the 40K Black Brunswickers, below, or the black ‘Totenkopf Hussars‘.

Painting Guide: fifty shades of grey
I found a painting guide here. Some paint black, some more blue, some more white….style is always a difficult choice, but I liked the strong contrasts, painted below.
Stylish. I thought nothing was painted, but when I unpacked, I discovered that the first owner (an excellent painter) had already painted a Dreadnought and a third of the infantry in that same style.

What I call the AC Milan colours.

Or an Italian sports car

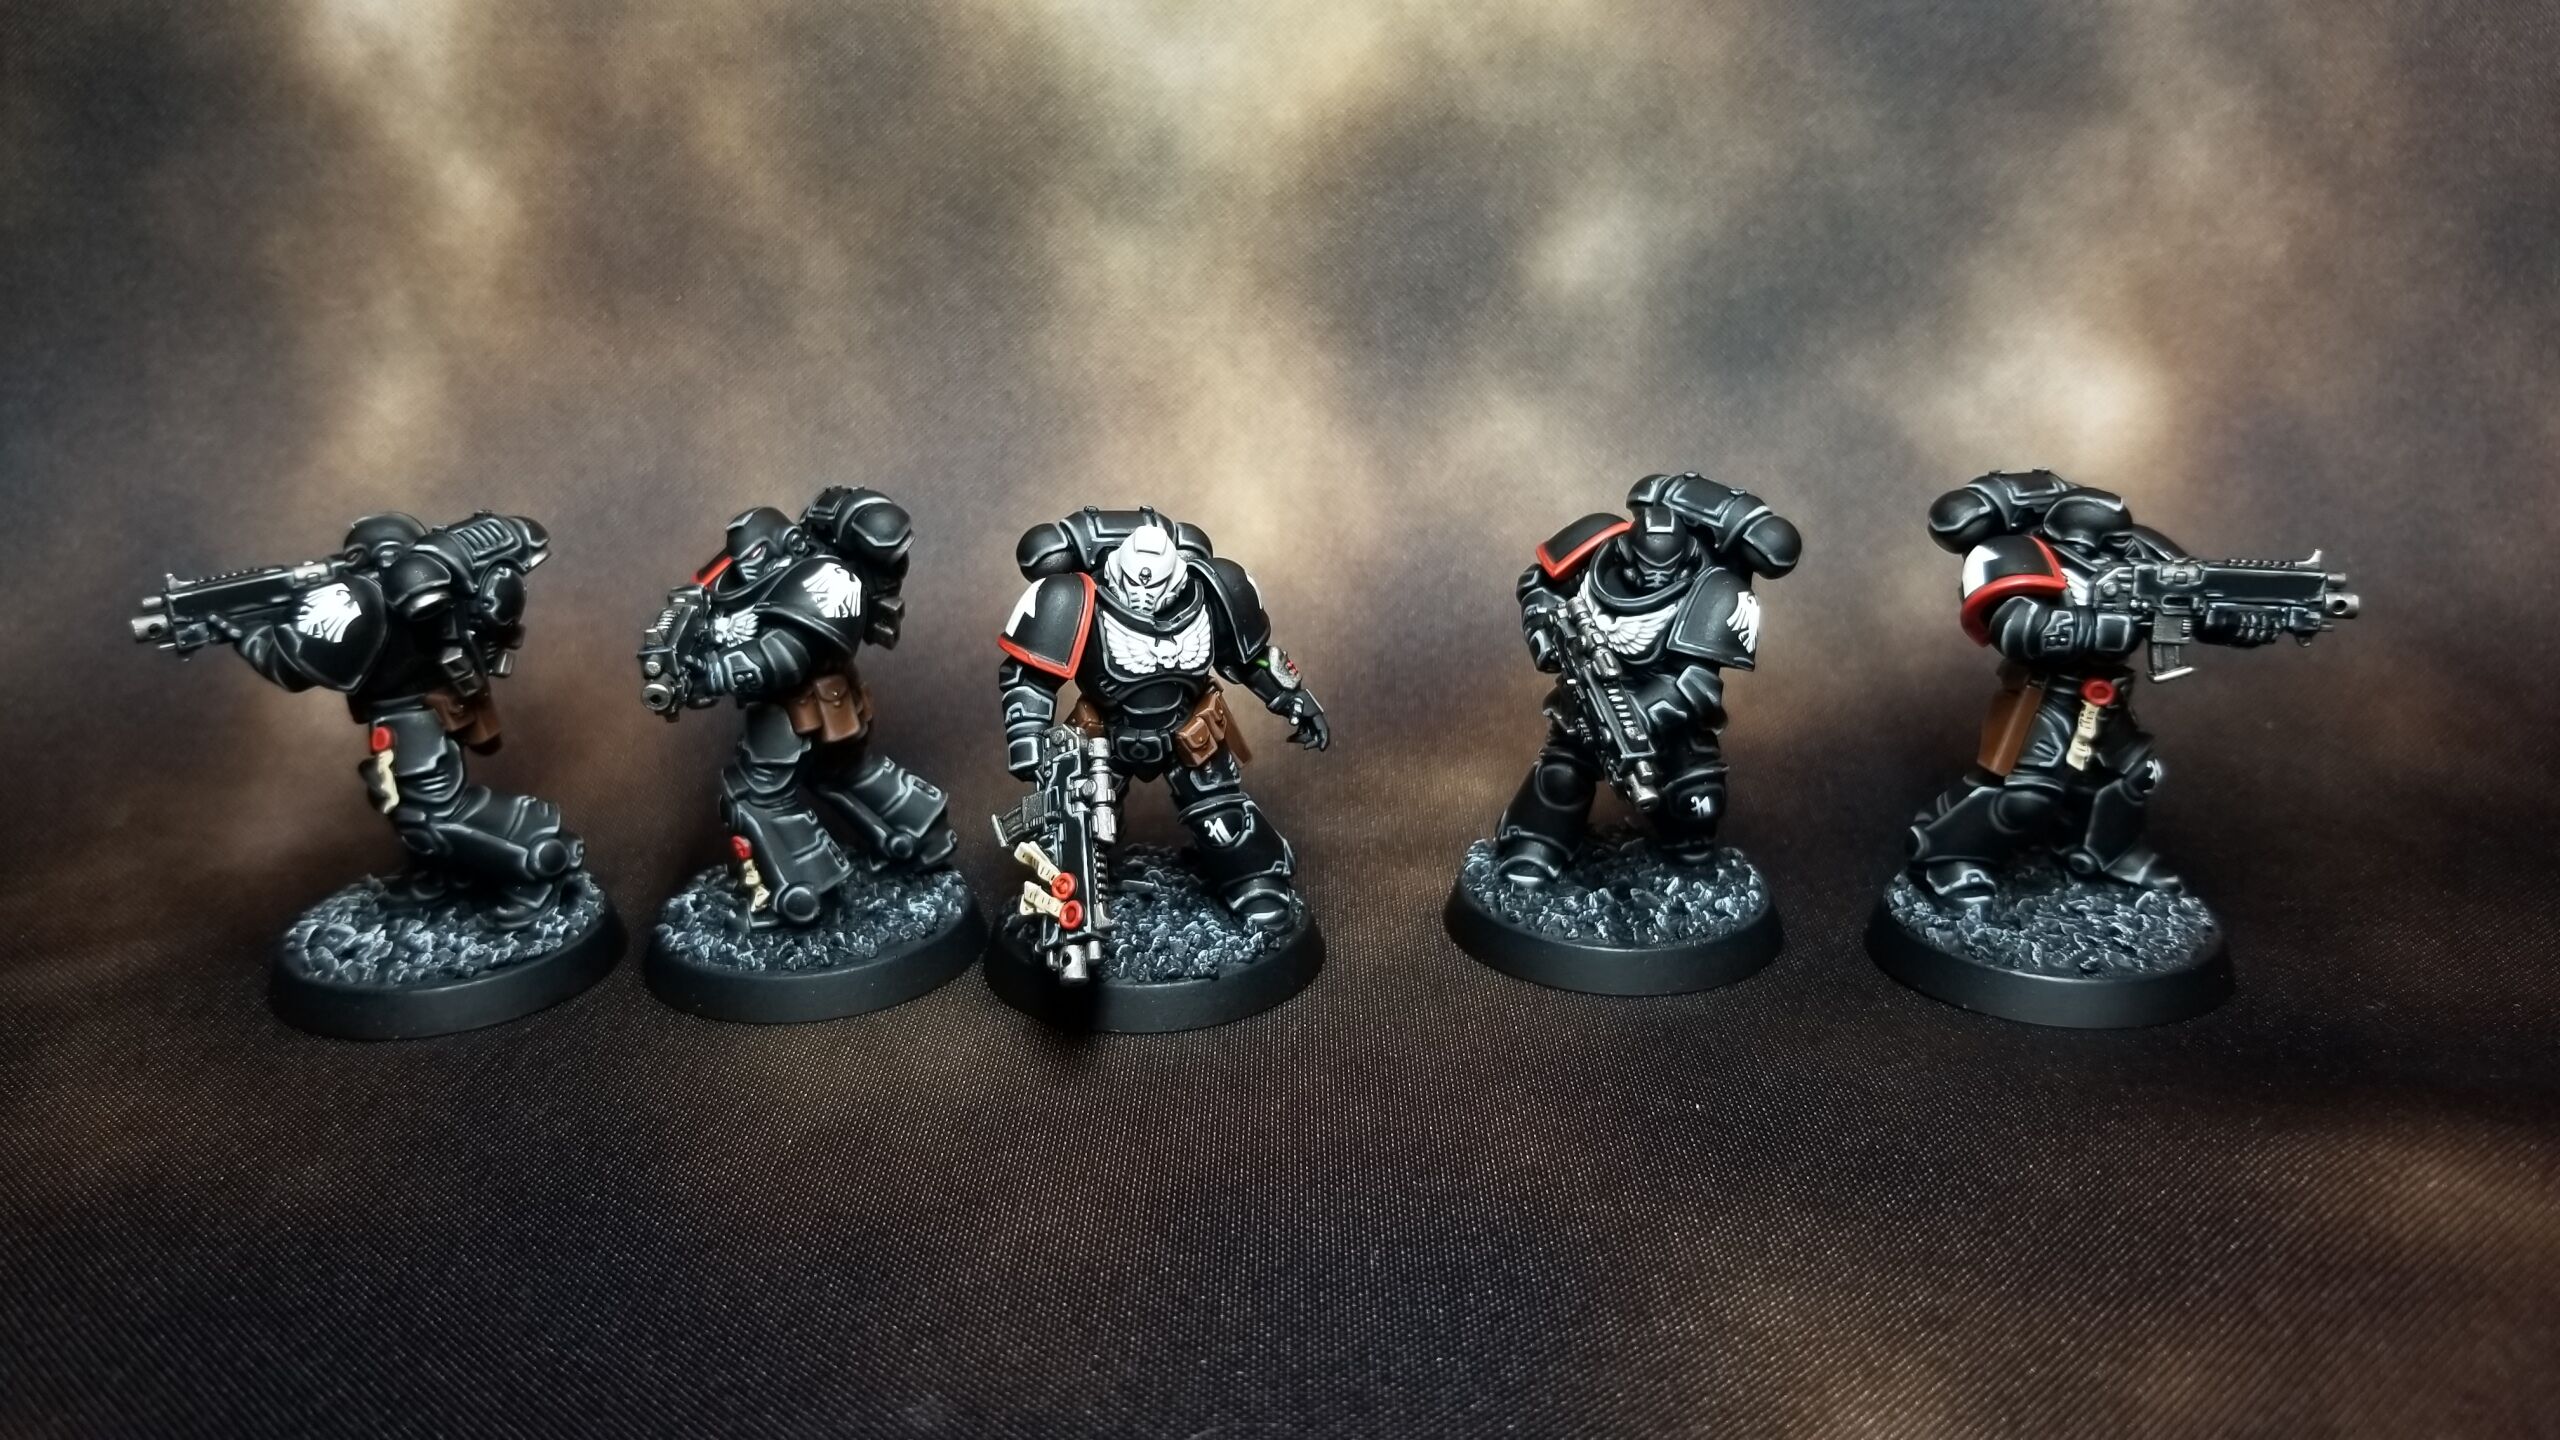
Here’s how I speedpainted all the others in my quick-is-good-enough style.
Aarrgh! A.S.S.E.M.B.L.I.N.G!!
I’m from the Airfix, Revell and model train generation. I started my hobby back in the seventies with plastic glue-together kits. I thought I was an outdated old man, clearly past his prime, but I discovered that these GW Space Marines were old fashioned glue-together kits. Wow!

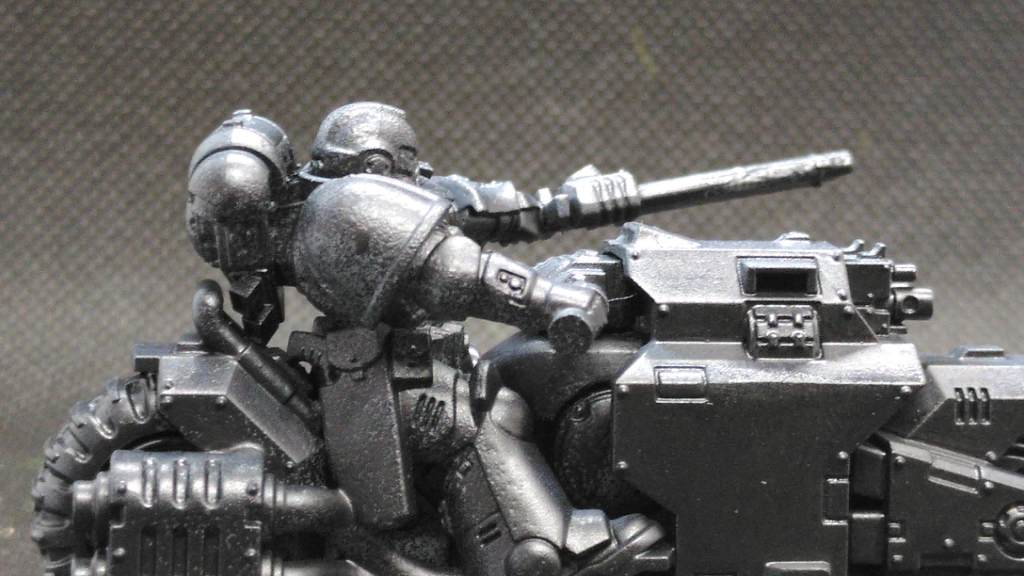
I felt young again. Still, I was glad that many of the figures had been assembled already by the first owner. 9 Intercessors, 2 Infiltrators and a few Suppressors left.
Prime black, spray grey from above
I primed and then spray painted grey on top. What is called zenithal painting:
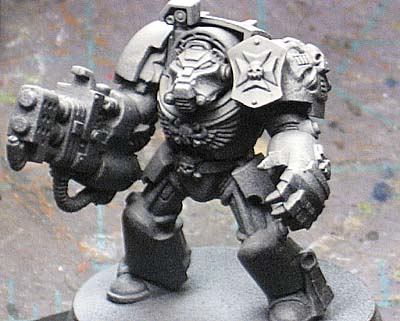
Zebra Pre-Highlighting
Showcase models have extreme highlighted armor parts. I like that, but instead of highlighting every single figure I drybrushed all the miniatures with white.

Contrast Paint & Quick Drybrush

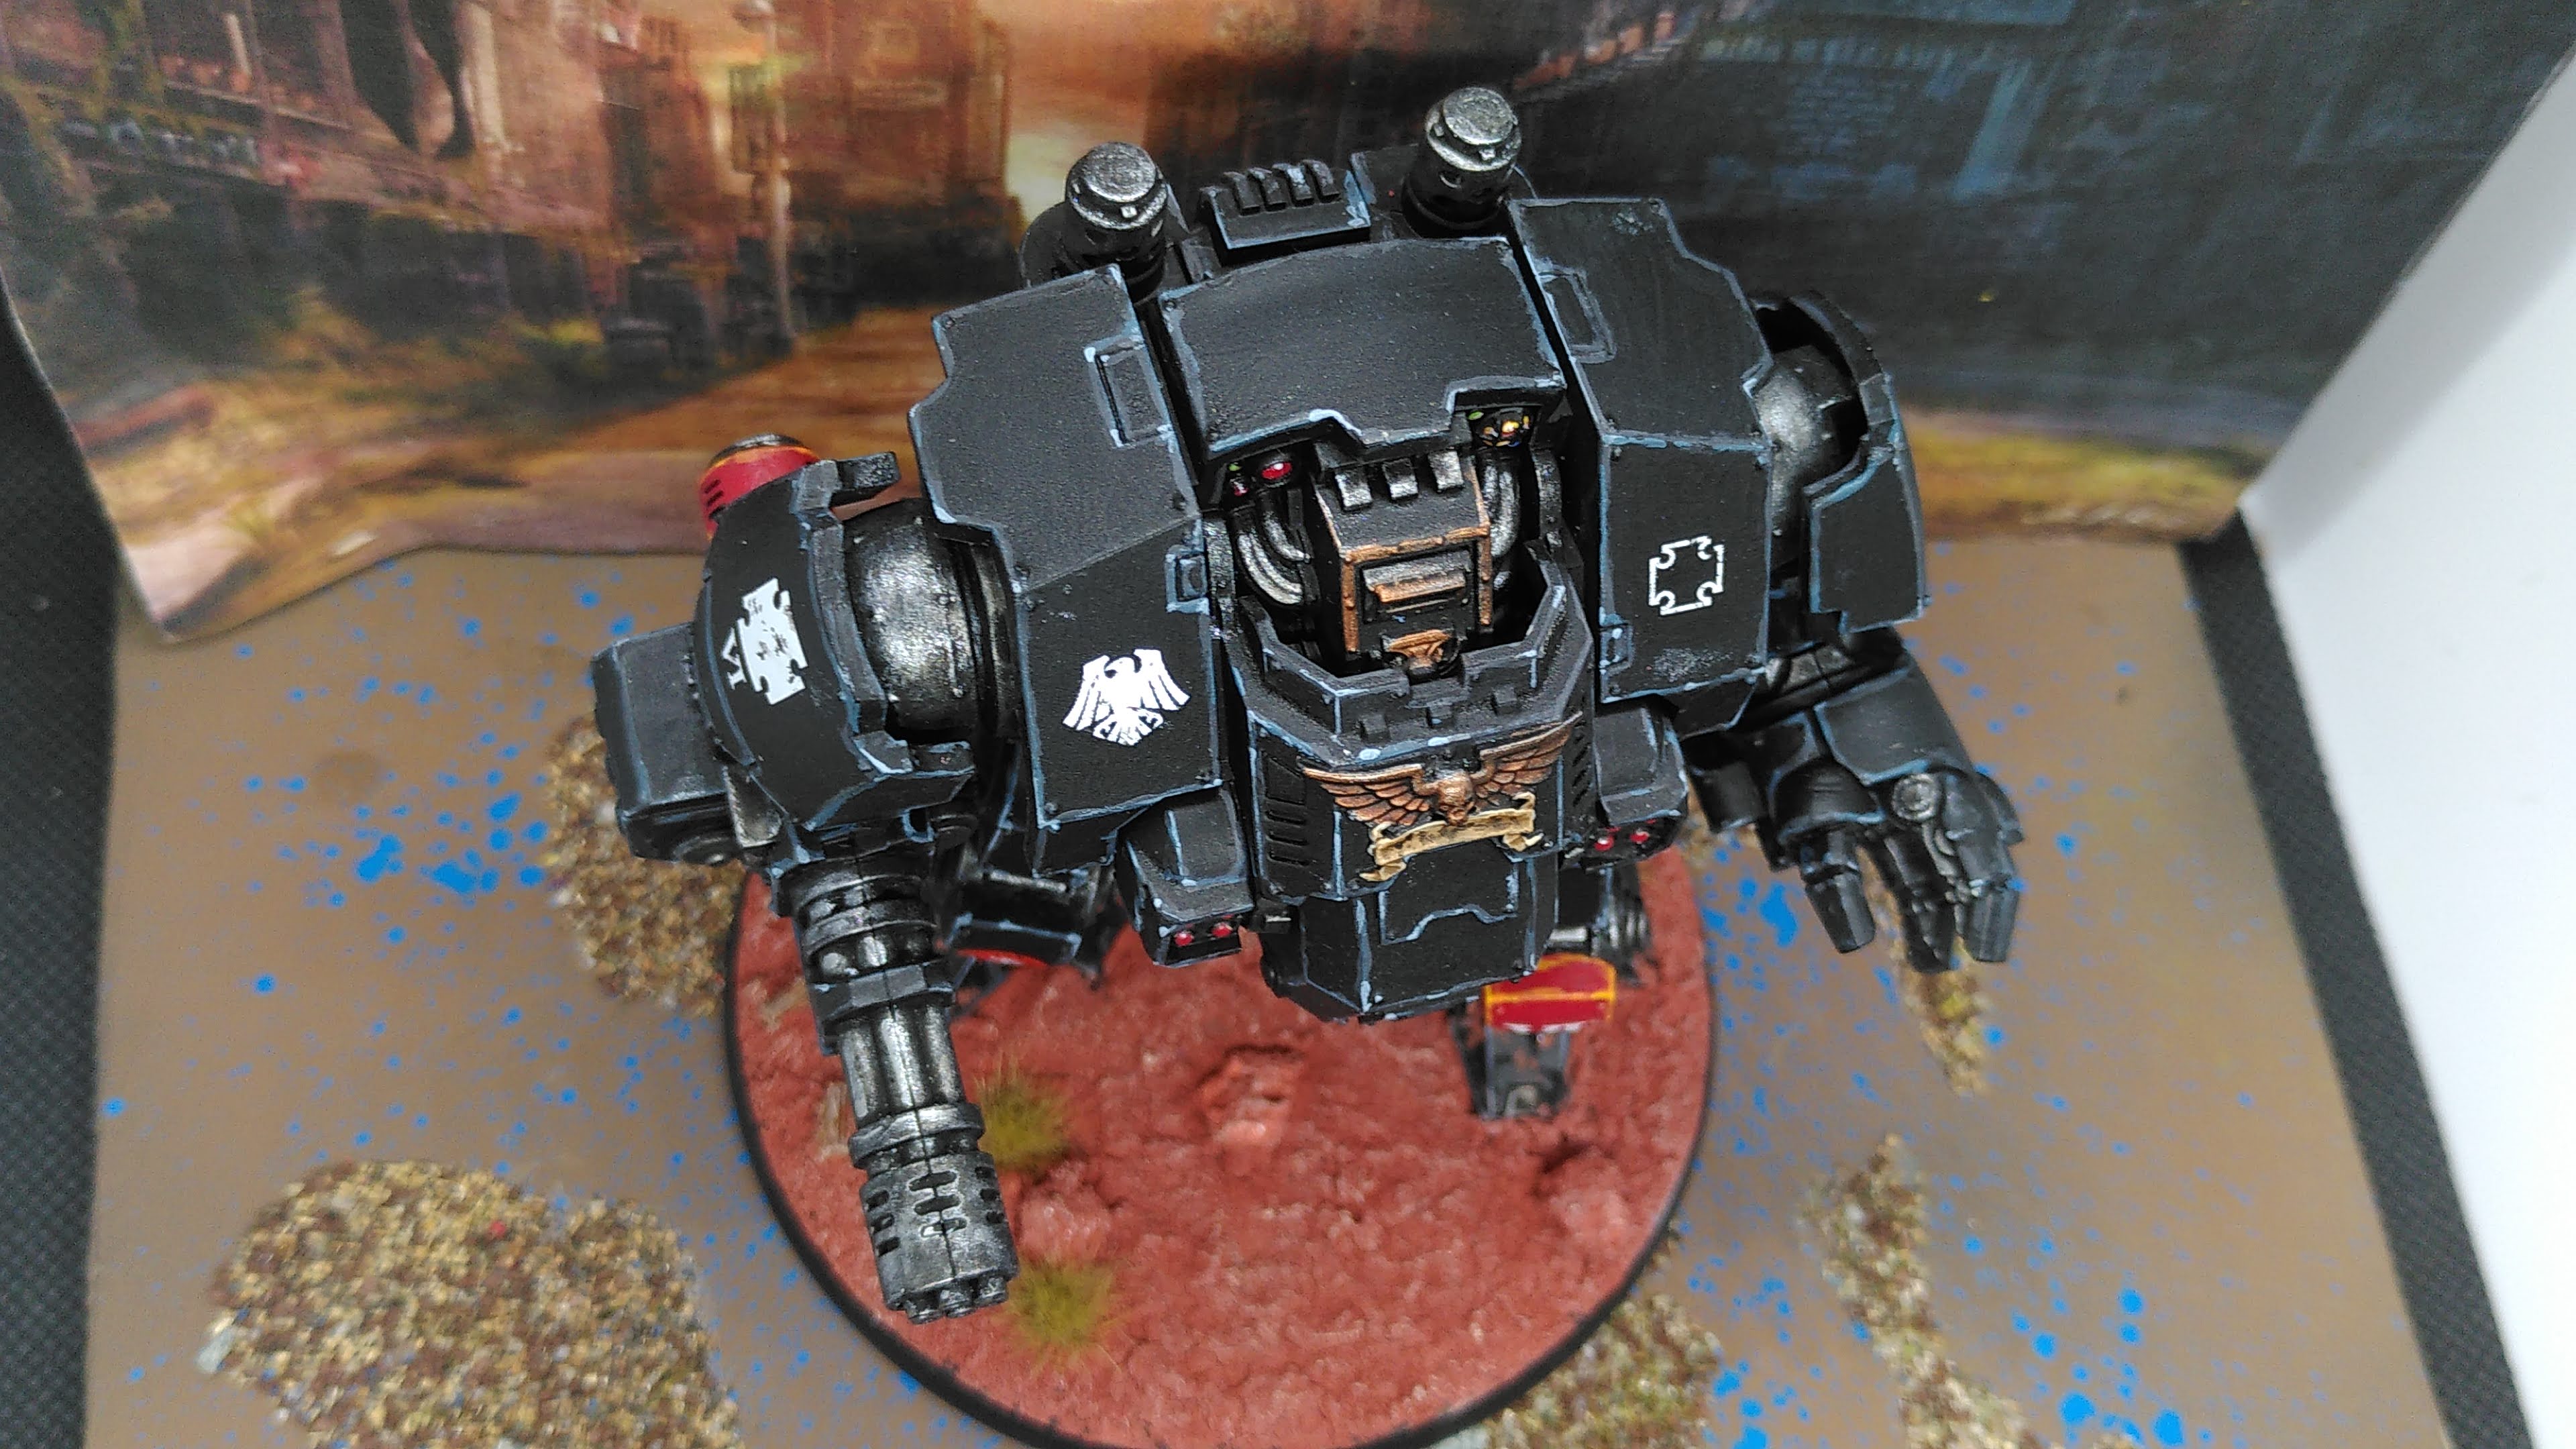
I then contrast painted the figures with Black Templar Contrast Paint, I think I should have thinned it more, because the result was pretty black again. Anyway, I gave the figures a quick, but careful dark grey drybrush. Basecoat ready. It’s the same technique that I used for my 6mm Napoleonic Black Brunswickers. IMHO, all black armies are more a ‘very dark grey’ than truly black. If too dark, too black, the figures don’t ‘pop’ on the tabletop.
Minimal Palette
Speedpainting and 40K are a bad mix. Why? Because 40K miniatures are marketed, sold and painted as individual works of art. The variety of officers, each with their unique armour and colour, is amazing. Infantry has many different sections, subsections, badges and weapons. 40K reminds me of a medieval knight army, with multicoloured banners, special weapons and contrasting shields.
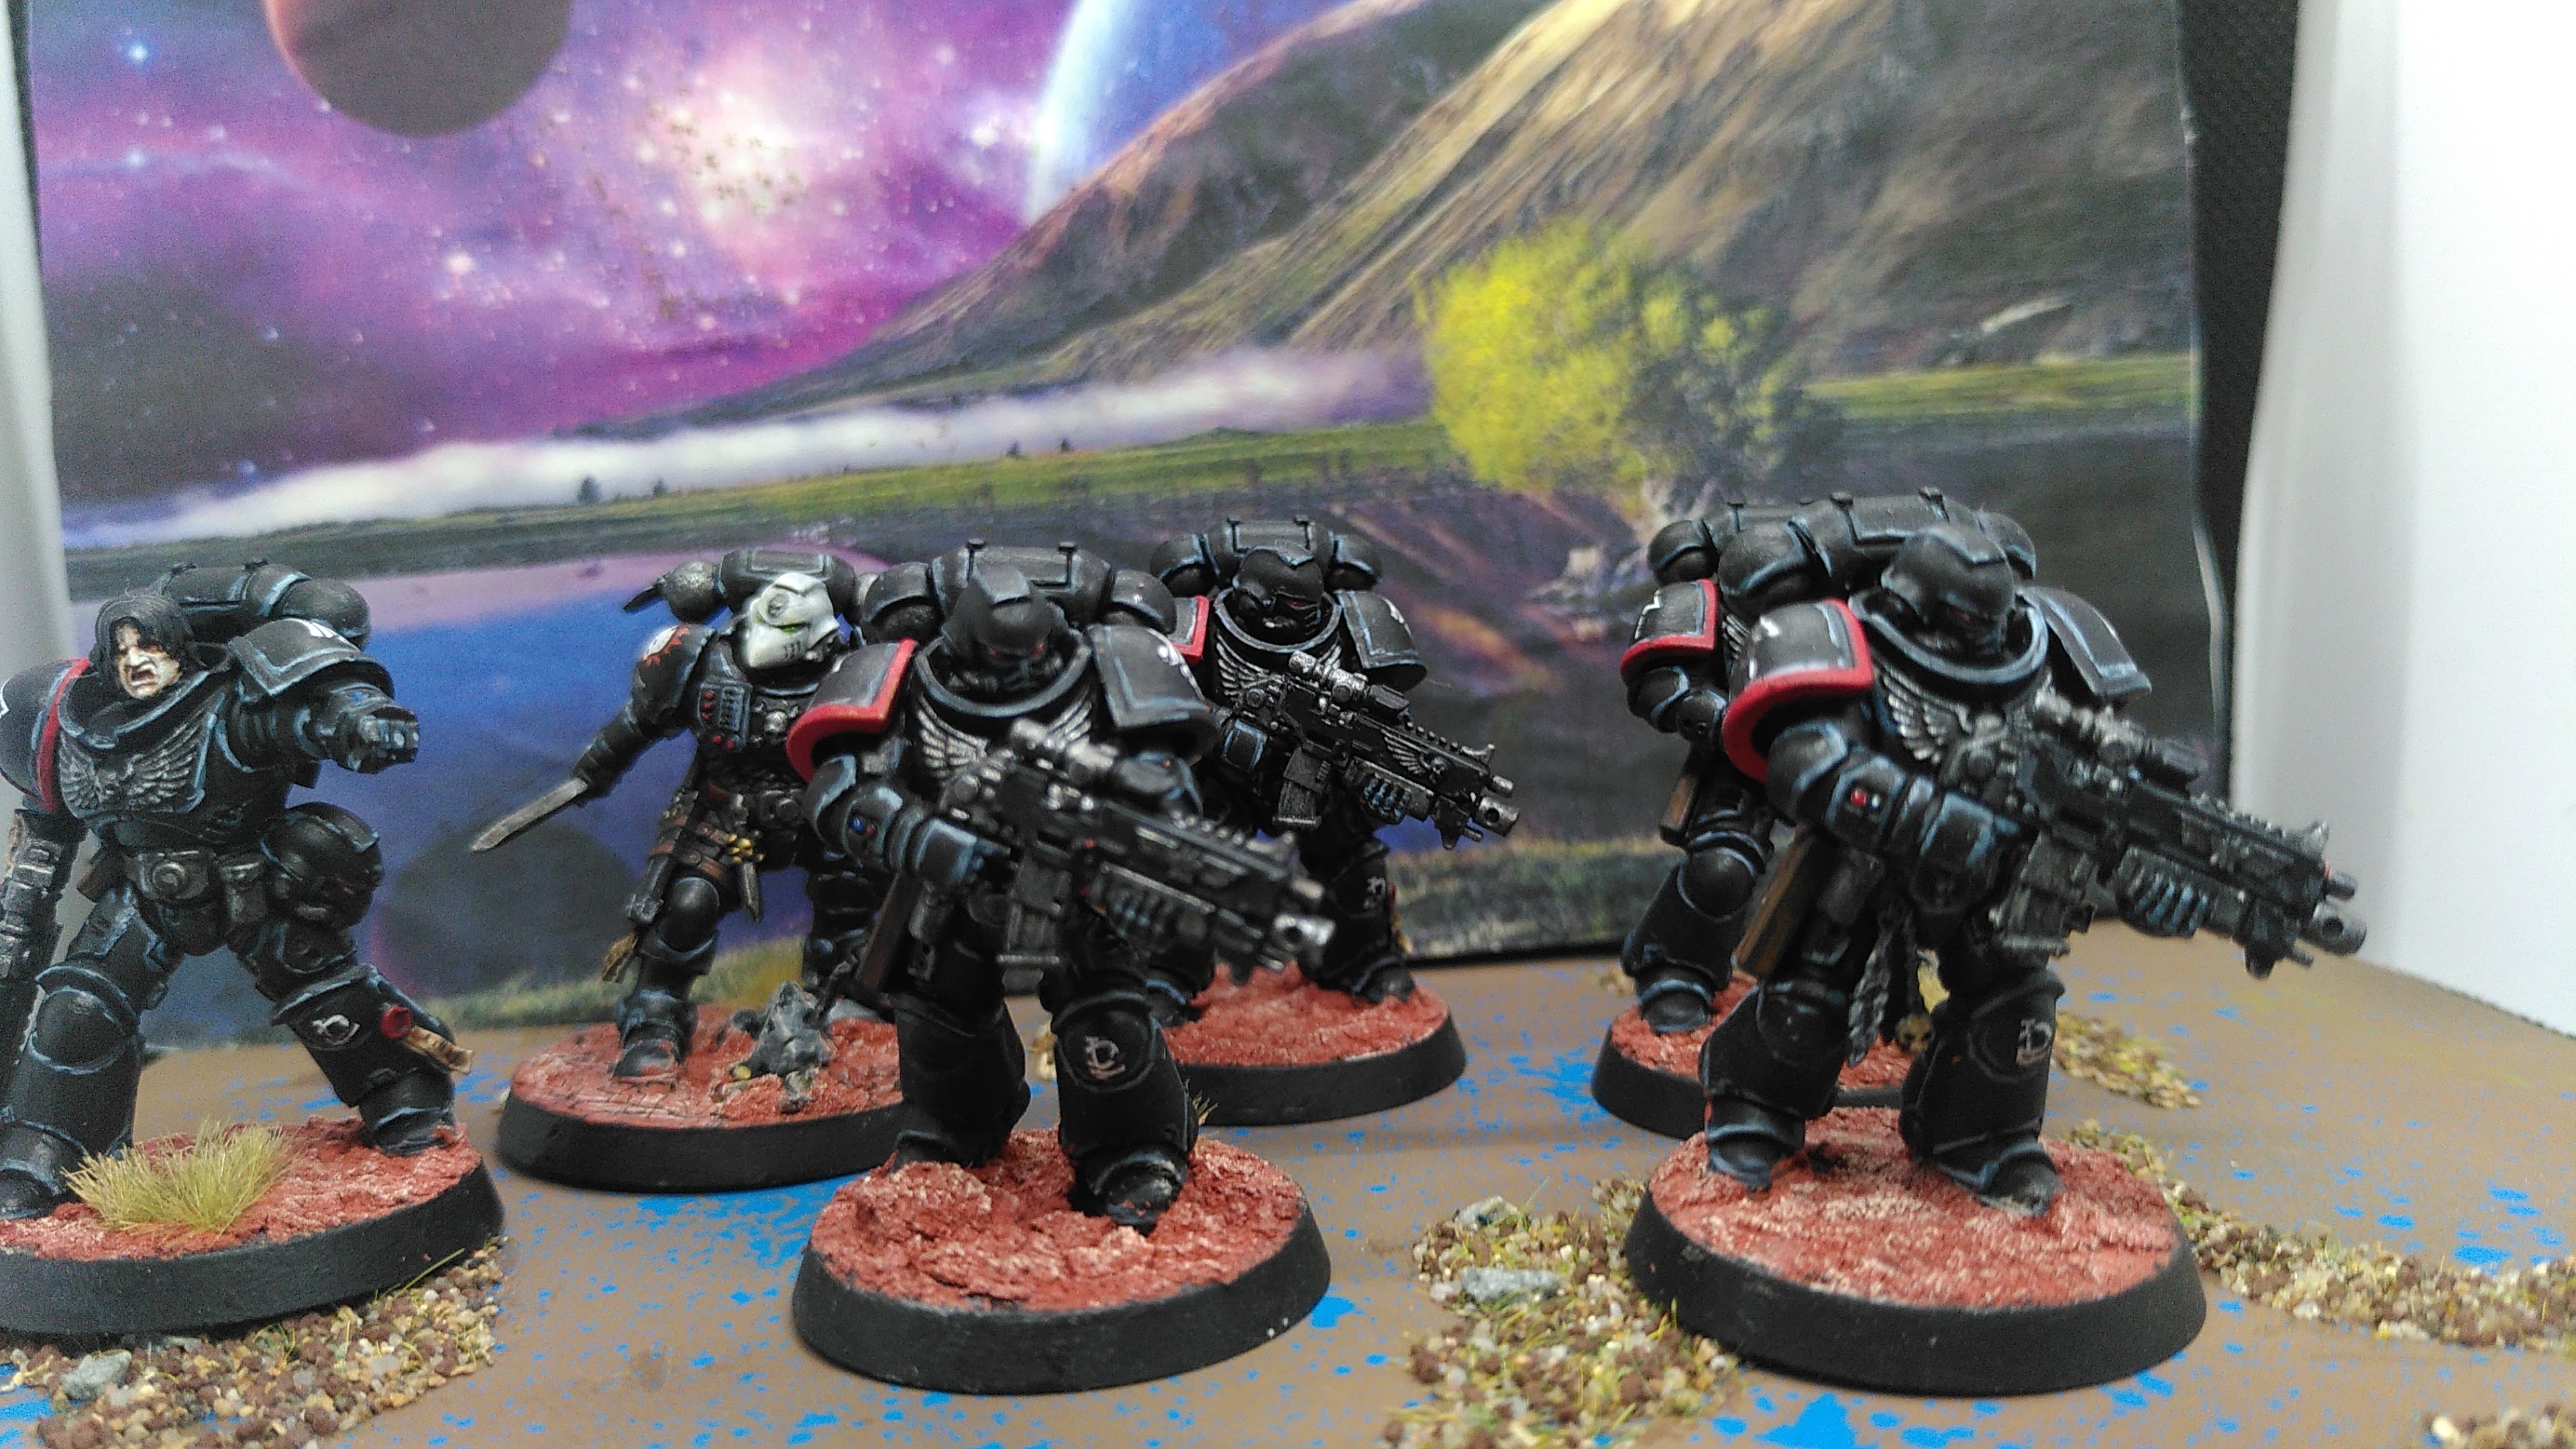
My more minimalistic approach: black: grey: white: red: brown: gold, silver and flesh. Eliminators with WW2 camouflage capes. Conveyor belt painting, to speed up the process.
Step 1: Brown
I painted all areas that would become leather brown, gold, broken white or red in the same dark brown colour.

Step 2-4: Silver, white, red
The basic uniform colours.

I used red Contrast Blood Angels paint to smoothen the dark shadows.
Step 5: Gold
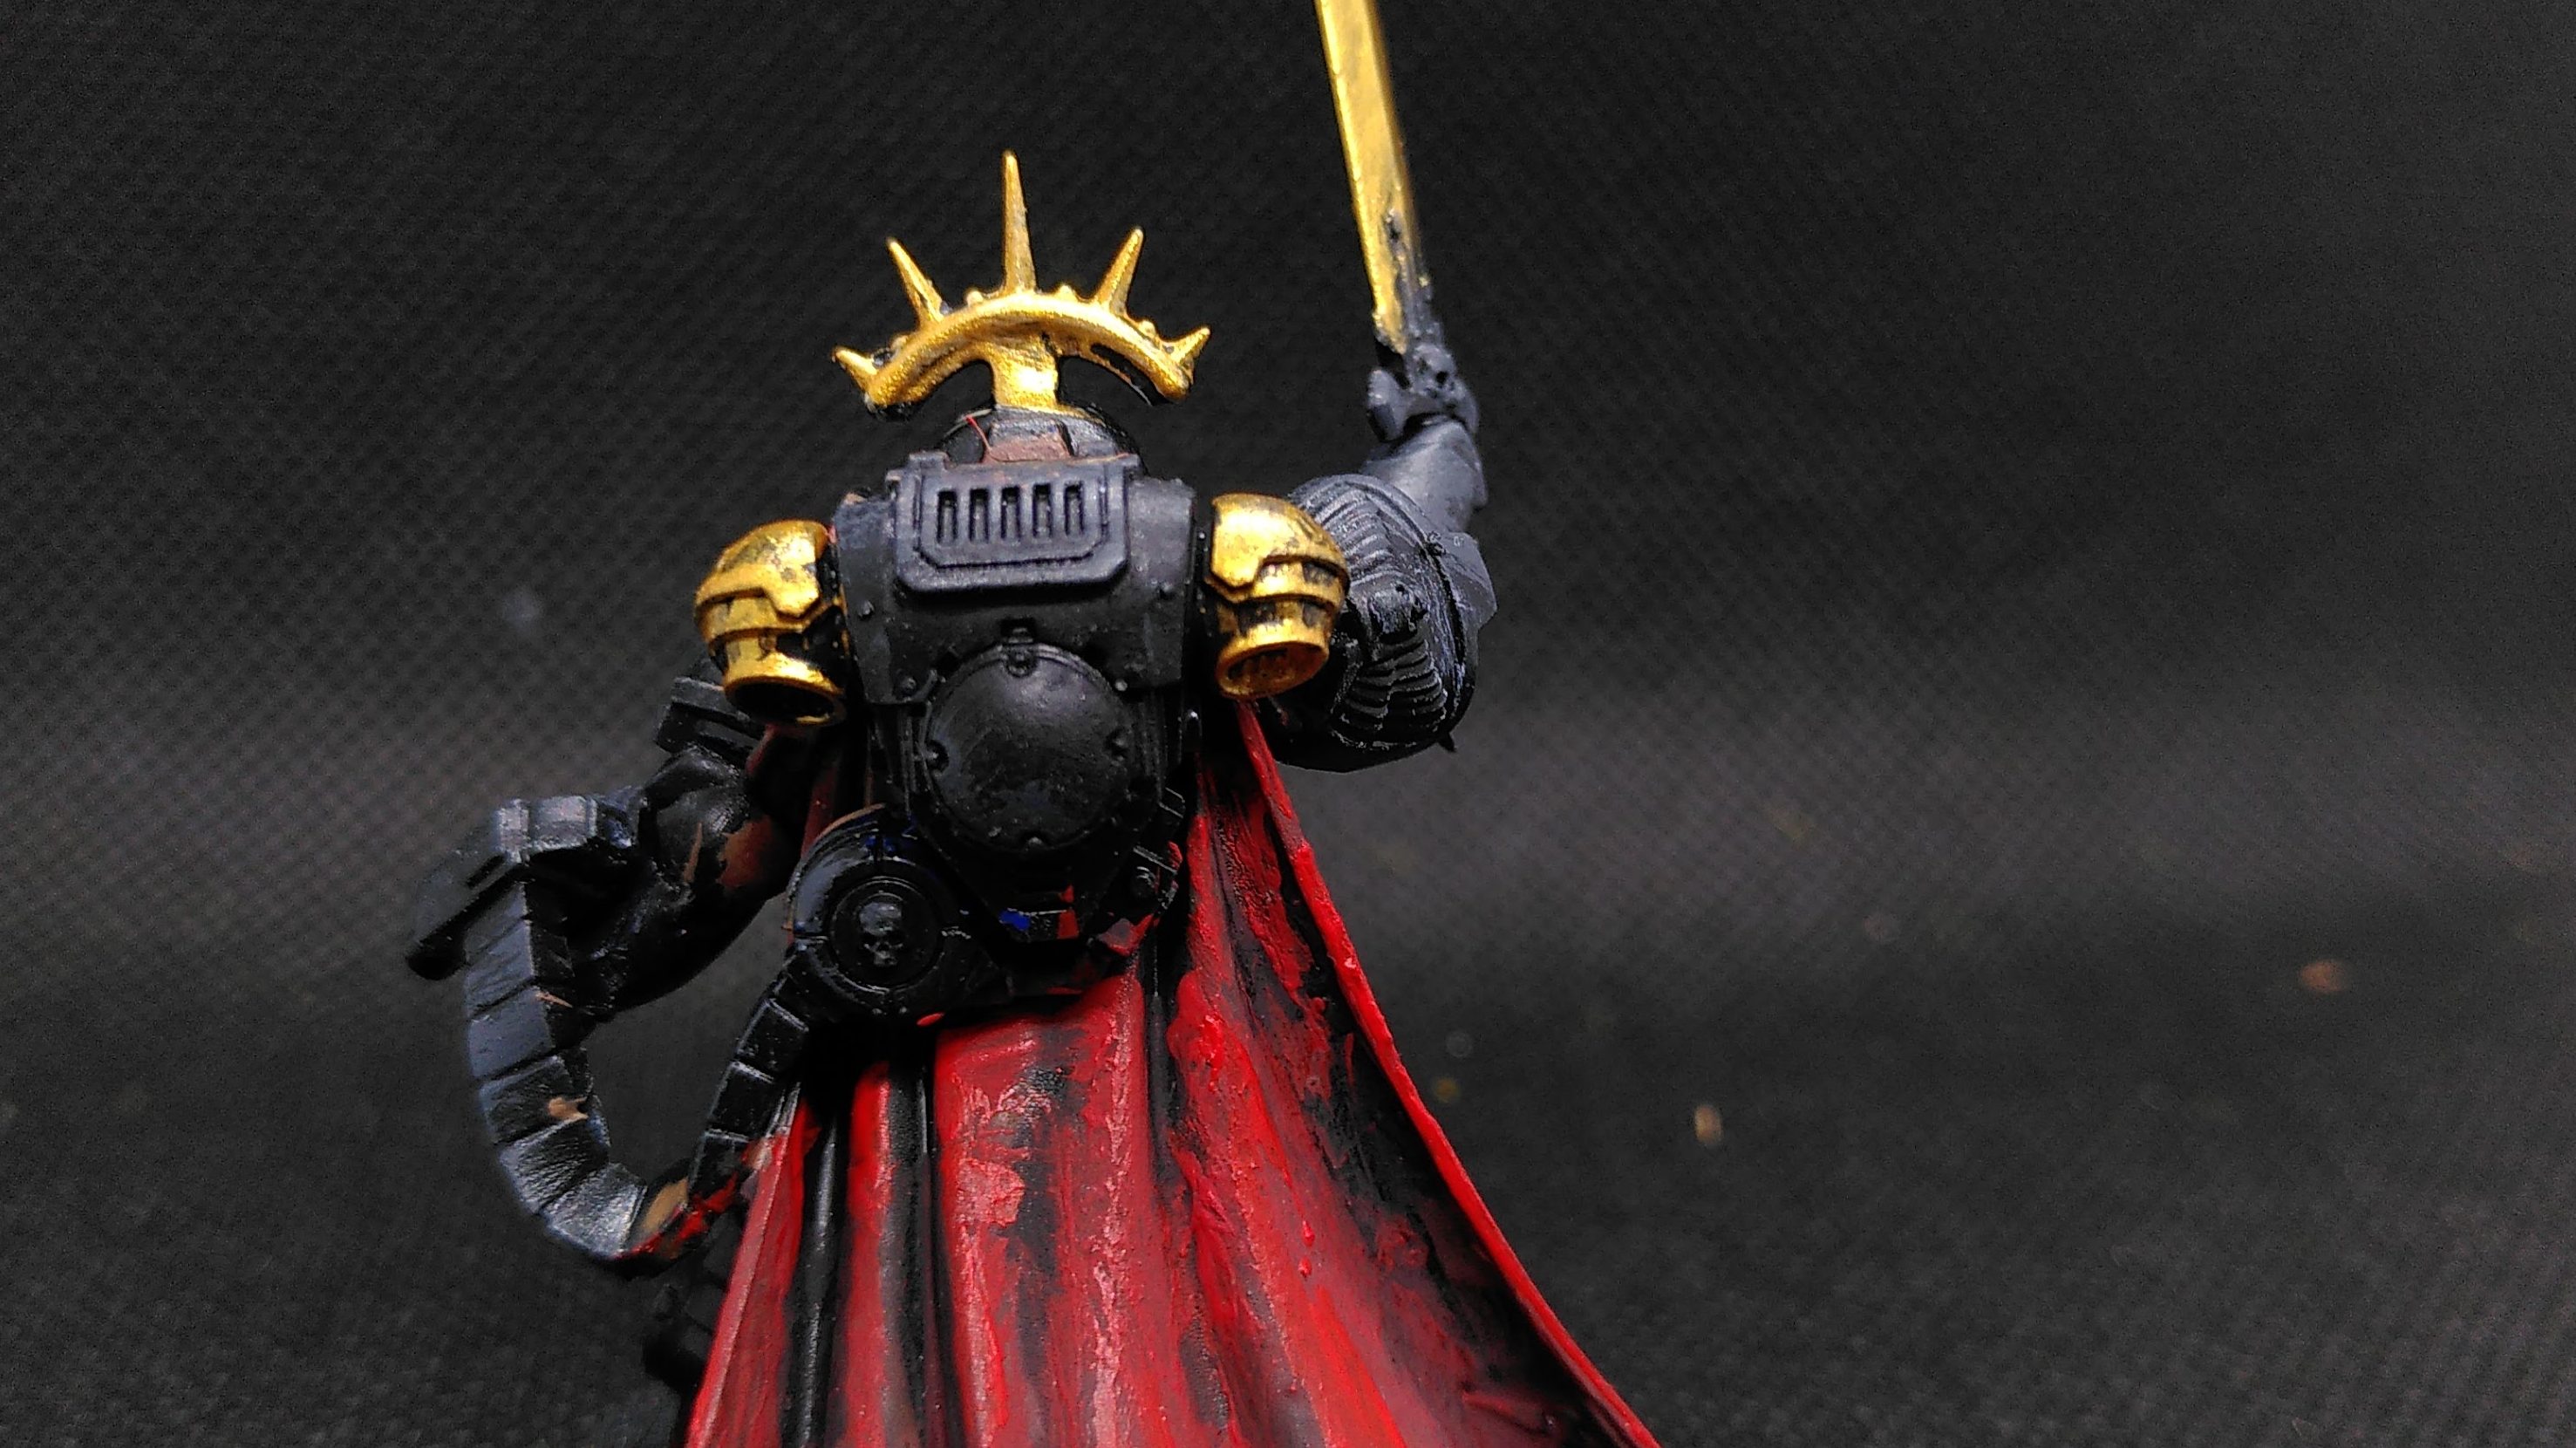
More gold, more senior. BTW, the cape: Army Painter red over brown, followed by red contrast paint for a better colour transition.
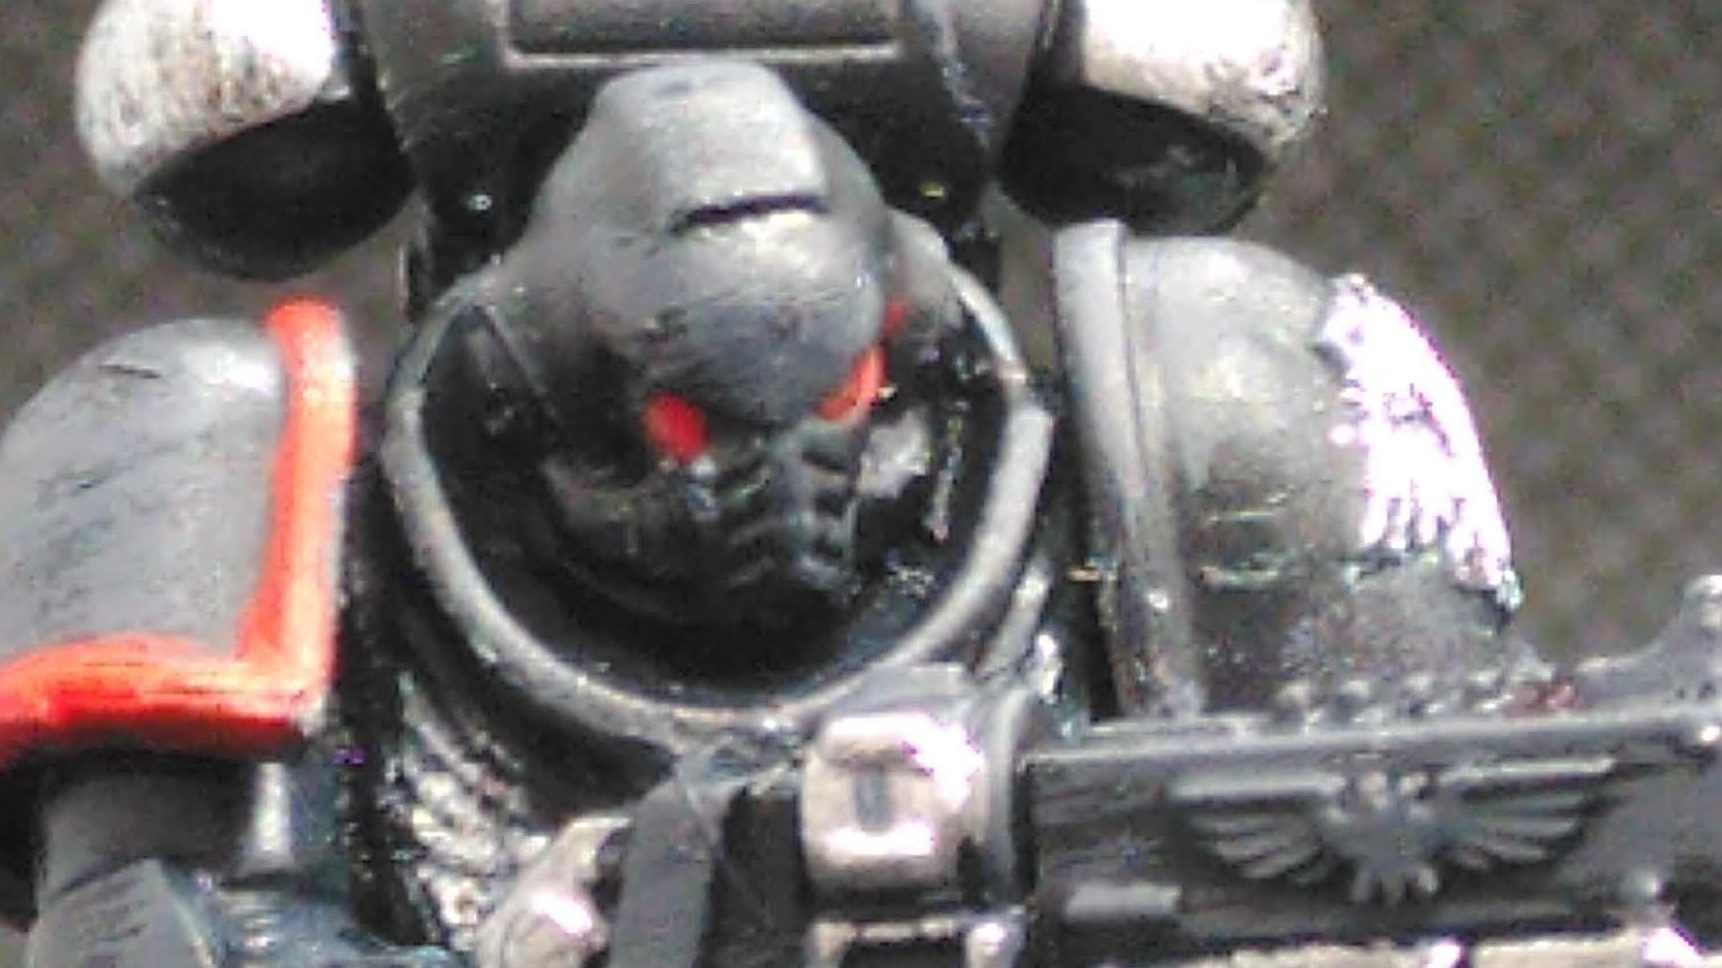
Step 6: Eyes and faces
The faces/helmets give character to each Space Marine, but again, speed is more important than perfection. I red-dotted the eyes and quickly drybrushed the face mask with light grey, as super highlight.
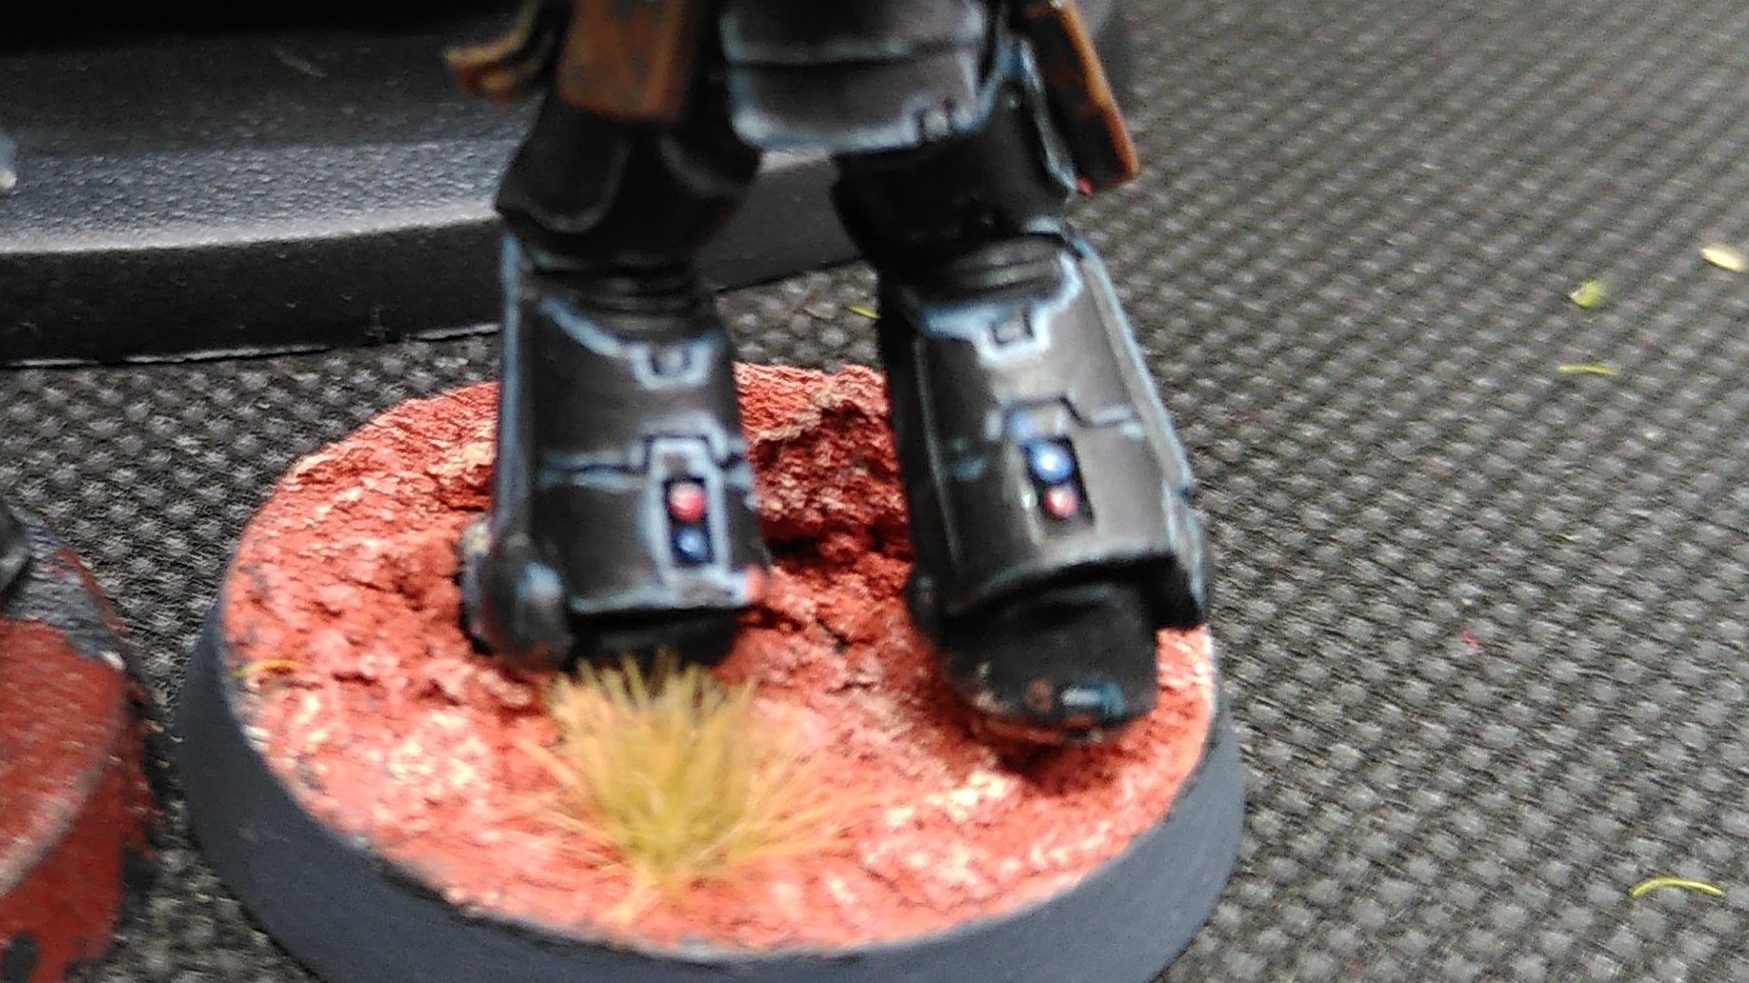
Step 7: Finish the base
I followed the colour choice of the first owner, a reddish ground which is a nice contrast with the black figures. I painted the base rim grey to strengthen the effect.
Here you also see the clear difference between the first owner’s high quality detailing and my speedpainting. He finelined all panels, painted lights in different colours, even highlighted those. Unfortunately, that was also the reason that he couldn’t finish the army. I deliberately skipped all details. Our club needs a finished army, asap. At arm’s length all Marines look similar.

Step 8: Dip, but not this time. Standard wash
Normally I dip my figures in Quickshade Varnish, extra protection, fast shading, I once finished a Blood Angels Space Marine in 10 minutes this way. Heresy!
Not this time. If all the figures were unpainted I would have considered it, but I didn’t want a visible style difference or varnish difference between my black mini’s and the first owner’s hand-painted batch. Besides, a black dip over a black armor might be too dark. Traditional wash would be better, this time.
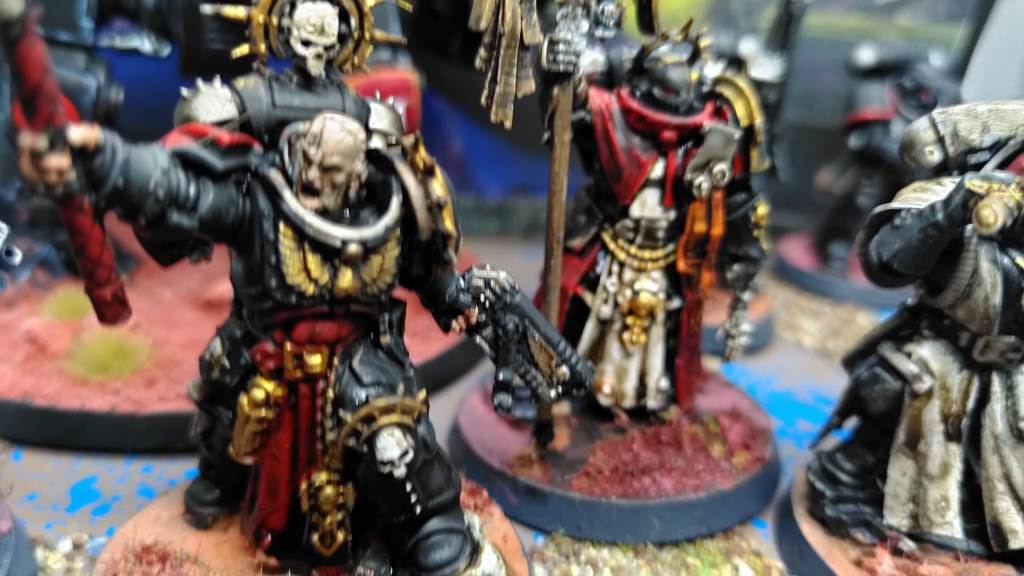


I used Nuln Oil (black wash) for the Intercessors and Infiltrators, and Strong Tone (brown wash) for the faces and the commanders with their white, gold and red robes.
Steps not taken yet: last corrections, decals, varnish. From nearby I can see dirty spots, mistakes, missed details. This army will never win a ‘best painted army award’.
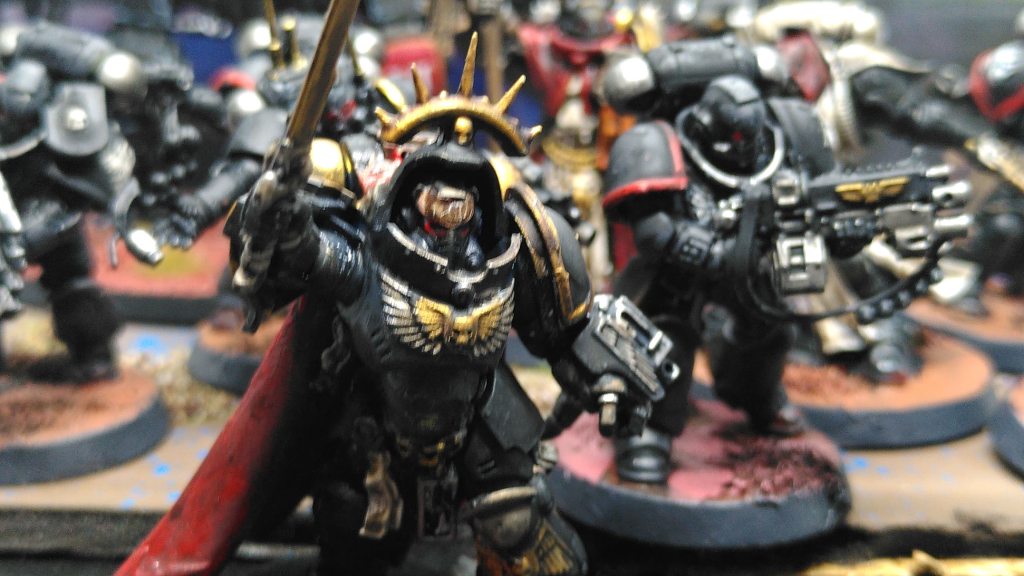
But – I finished the whole army in a couple of evenings, and on the tabletop at 3 feet distance the deep contrasts look spectacular. As an army, it ‘pops’. Later this week: two mechs and 6 bikers, a simple task. Project done. Case closed. Players happy.
Slowpaint Advice
Tale of Painters published a 46-steps tutorial for showcase black armor models.

They look the part to me- great work.
Cheers,
Pete.
LikeLike
Tnx! While painting I was amazed about the possible level of detail and individuality you can give to each figure. In historical wargames, you have line and skirmish infantry, basically. In WW2 line and support. In 40k you have 20 different varieties of infantry, specific roles, specific weapons.. very much AD&D, very much a collectible miniature game, for a squad with a special role you need to buy several boxes, upgrades and decals. Difficult to compromise between speed and detailing, not as easy as a regular WW2 or Napoleon army.
LikeLike
Awesome job!
LikeLike
A great tribute to Corax. The standard bearer is wickedly cool!
LikeLike
A tribute to Corax! The standard bearer is wicked. Almost Legion of the Dead.
(Seems my earlier reply wasn’t saved.
Regards, Azad
LikeLike